Overview
The Preparation Mistake Most DIY Painters Make
Painting motorcycle fairings is a multi-stage refinishing job, not a single spray-paint step. Start only with sound panels: repair cracks, restore damaged mounting areas, and confirm the panel still holds its intended shape before preparing the surface.
A durable result normally requires cleaning and degreasing, progressive sanding, a coating system compatible with the panel material, controlled color application, clear coat, and full cure before reassembly. The coating manufacturer’s technical data sheet and safety data sheet control mixing ratios, flash times, cure times, ventilation, and personal protective equipment.
Important safety limit: catalyzed polyurethane coatings may expose the user to isocyanates. This guide does not treat a household fan, a plastic-sheet enclosure, or an ordinary cartridge mask as adequate protection. If you do not have the spray environment and protective equipment required by the product instructions and local rules, use a qualified paint shop or order the kit painted.
GoMotoTrip can supply a factory-direct motorcycle fairing kit with custom paint completed before shipping.
Should You DIY or Buy Custom-Painted Fairings?
Use this decision check before buying paint or equipment:
| Situation | Better route | Why |
|---|---|---|
| Your existing panels are structurally sound, and you already have a compliant refinishing workspace | DIY or professional repaint | You can preserve the original panels and control the finish. |
| The panels are cracked, distorted, or missing mounting areas | Repair first or replace | Paint does not correct structural damage or poor alignment. |
| You do not have the ventilation and protective equipment required by the coating system | Professional paint shop or pre-painted replacement kit | The safety requirements matter more than the convenience of spraying at home. |
| You want a new full set with a custom design | Order a custom-painted fairing kit | The design can be confirmed before production and delivered ready for installation. |
A Product-Specific Workflow for Painting Motorcycle Fairings
A professional result comes from controlling the complete coating system, not from copying one universal recipe. Inspect the panel, identify the material, repair damage, prepare the surface to the selected product’s specification, and test compatibility before coating the full set.
Do not use a workshop method as a shortcut around the technical data sheet or safety data sheet. If a required spray stage cannot be performed safely in your workspace, send that stage to a qualified refinisher.
Preparatory Phase
Complete this preflight check before removing the first panel:
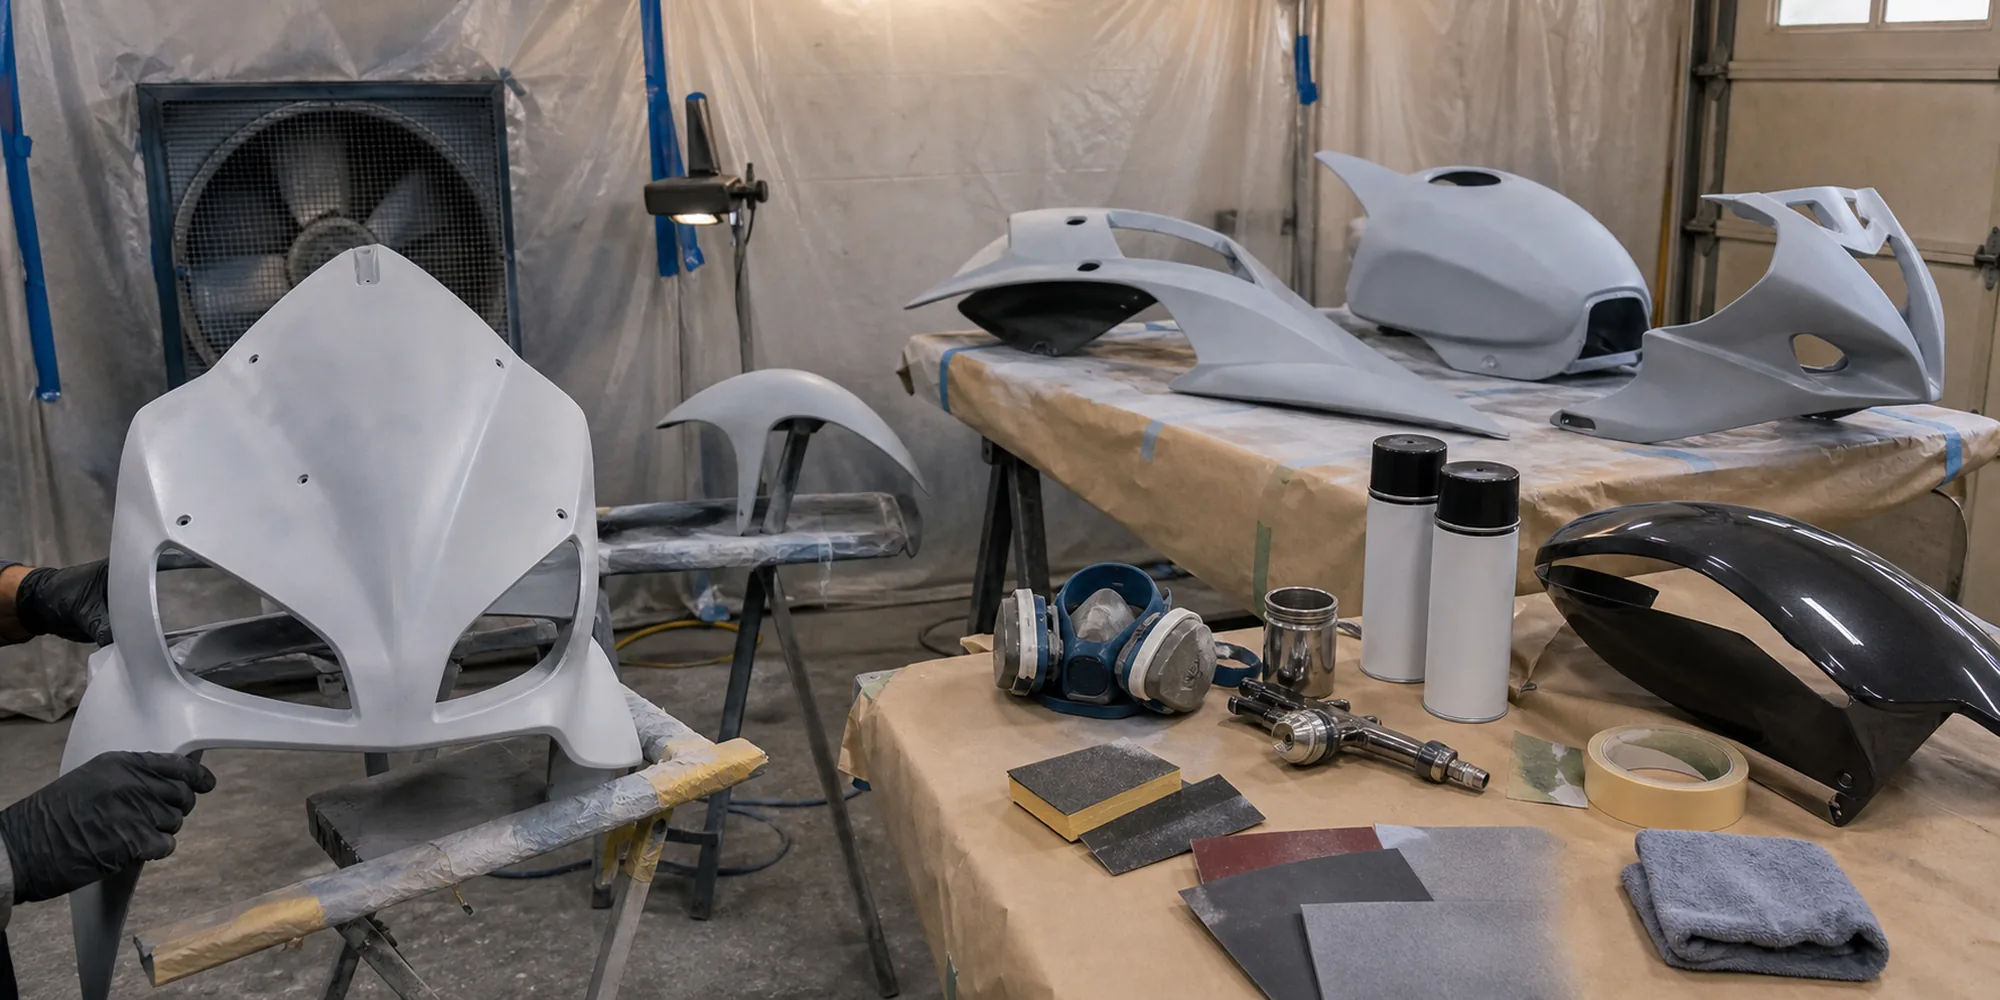
- Panel condition: identify cracks, damaged tabs, distortion, old repairs, and coating failure.
- Material: check the molded material mark or reliable specification; do not assume every motorcycle panel is ABS.
- Coating system: select compatible cleaning, repair, primer, color, and clear products, then collect their current technical and safety documents.
- Workspace: confirm that ventilation, ignition control, temperature, lighting, and protective equipment meet the selected products’ requirements.
- Downtime: allow for repair, preparation, application, handling, full cure, and reassembly without forcing the schedule.
- Test plan: use a compatible sample or hidden test area to check adhesion and coating reaction before applying the full system.
Essential Supplies
Build the supply list from the products you will actually use:

- Panel-material identification and the technical data sheets for the complete coating system.
- Cleaning and degreasing products approved by the coating manufacturer.
- Abrasives in the range specified for repair, primer, color, and clear preparation.
- Mutually compatible primer, color, clear, reducers, hardeners, and additives.
- Clean panel stands, lighting, mixing and filtering tools, and dust-control materials.
- The ventilation, respiratory protection, skin protection, and eye protection required by each safety data sheet.
If the safety controls or application equipment are not available, use a professional paint shop rather than substituting household equipment.
Best Primer for Motorcycle Fairings: A Quick Comparison
Choose primer by compatibility, not by a generic brand ranking or an old online price.
| Check | What to confirm |
|---|---|
| Panel material | The product explicitly supports ABS or the material marked on the panel. |
| System compatibility | The primer, color, and clear are approved for use together. |
| Surface preparation | The specified cleaner, sanding range, film build, and recoat window are practical for the job. |
| Application controls | The workspace and protective equipment meet the product’s technical and safety requirements. |
| Finish plan | The primer can be sanded or recoated as required before the selected color. |
Designing Your Paint Scheme
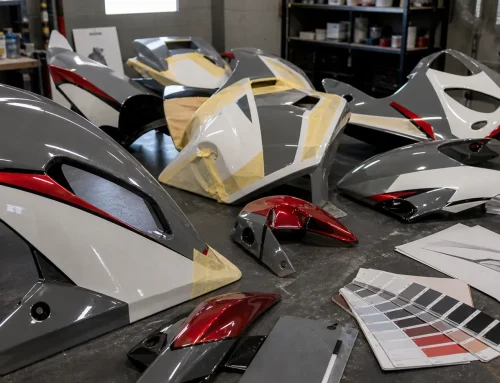
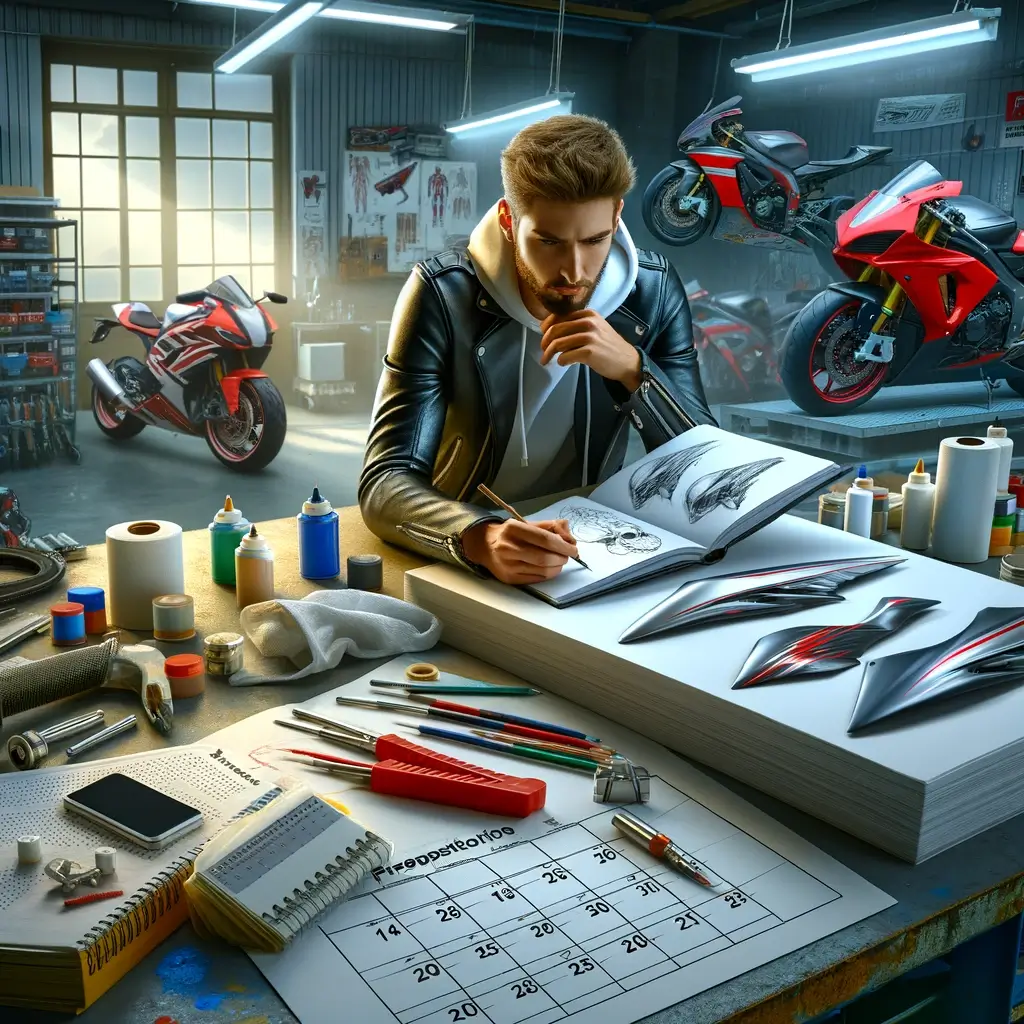
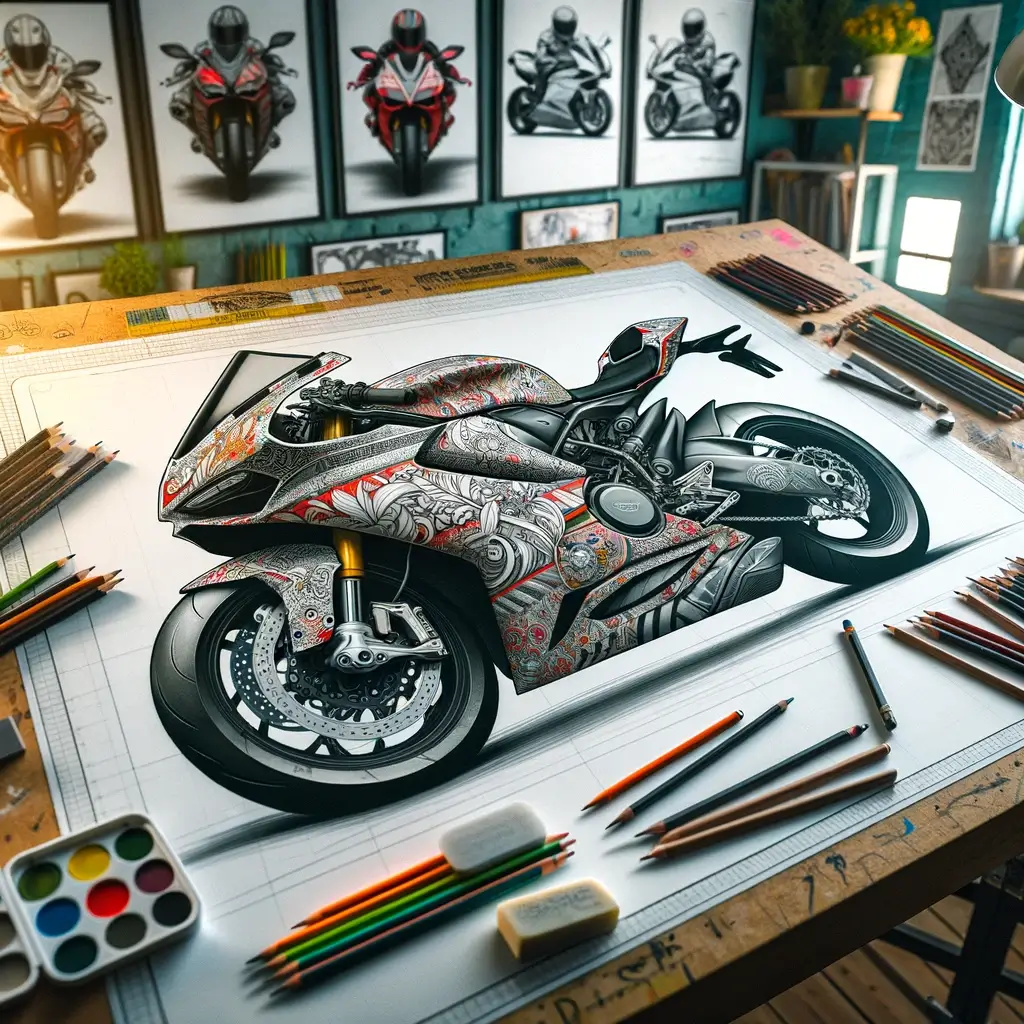
If you have no clue how to sketch a design for motorcycle fairings, here’s an example from one of our customers. This Ducati 1199 Panigale Superbike-Coach Fairing Kit went from sketch to finished product.
For a detailed walkthrough on designing custom graphics, read: How to Create Custom Painted Fairing.
Is Your Workspace Suitable for Spray Painting?
The spray environment must meet the requirements stated in the coating system’s technical and safety documents. Dust control alone is not enough. Household fans and improvised plastic-sheet enclosures are not substitutes for compliant ventilation, ignition control, and respiratory protection.
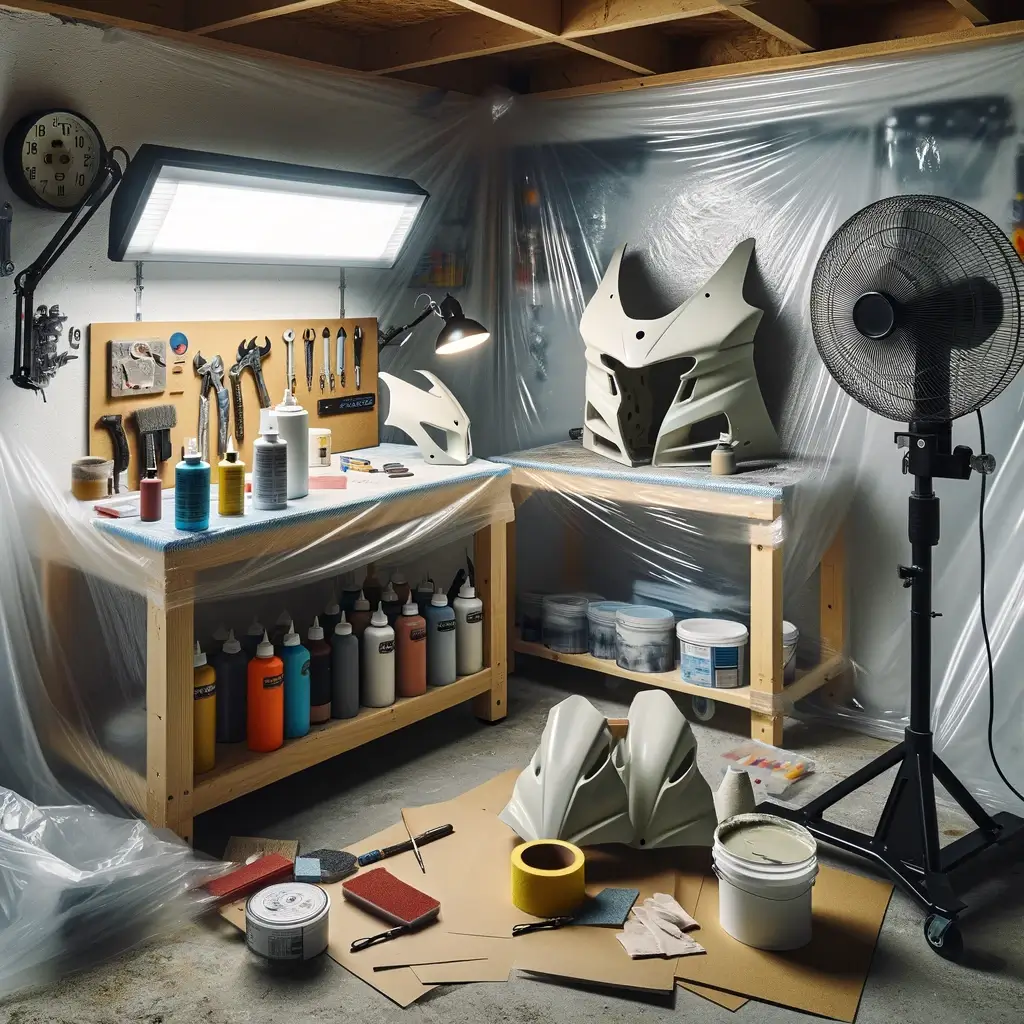
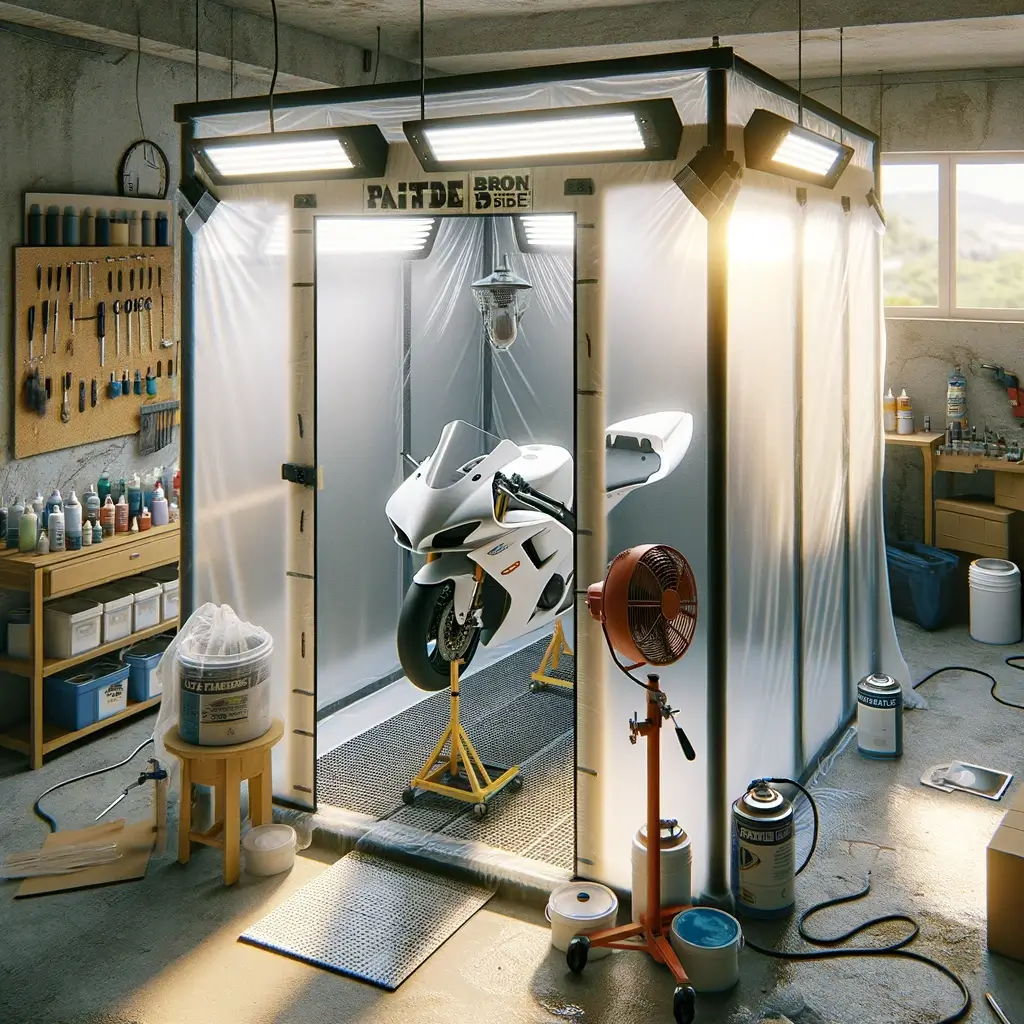
If the selected primer, color, or clear coat requires a professional booth or supplied-air respiratory protection, do not spray it in a home garage. Ask a qualified refinisher to apply that stage. Keep children, pets, food, and ignition sources away from all preparation and coating work.
Step 1. Remove the Fairings
Remove and document the fairings before surface preparation:
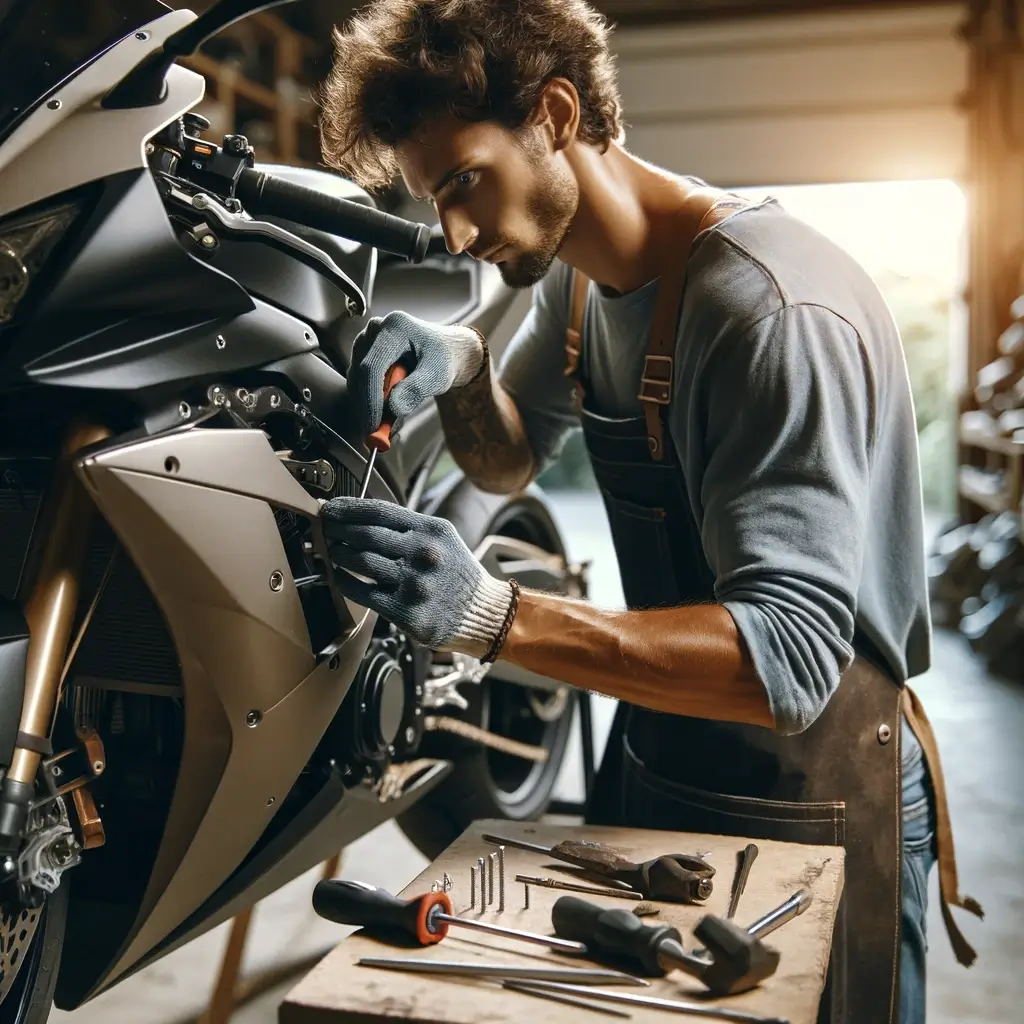
- Photograph panel joints, fastener locations, spacers, clips, grommets, wiring, and heat protection before disassembly.
- Use the correct tools and support each panel while releasing tabs; do not pull a panel against a hidden fastener.
- Bag and label hardware by location, keeping reusable rubber and metal parts separate from sanding dust and coating materials.
- Inspect the back of every panel for material marks, hidden cracks, previous repairs, and damaged mounting areas.
- Test-fit repaired or replacement pieces before paint so alignment problems are not discovered after refinishing.
Step 2. Clean the Fairings
Cleaning removes contamination that sanding can otherwise spread through the surface.
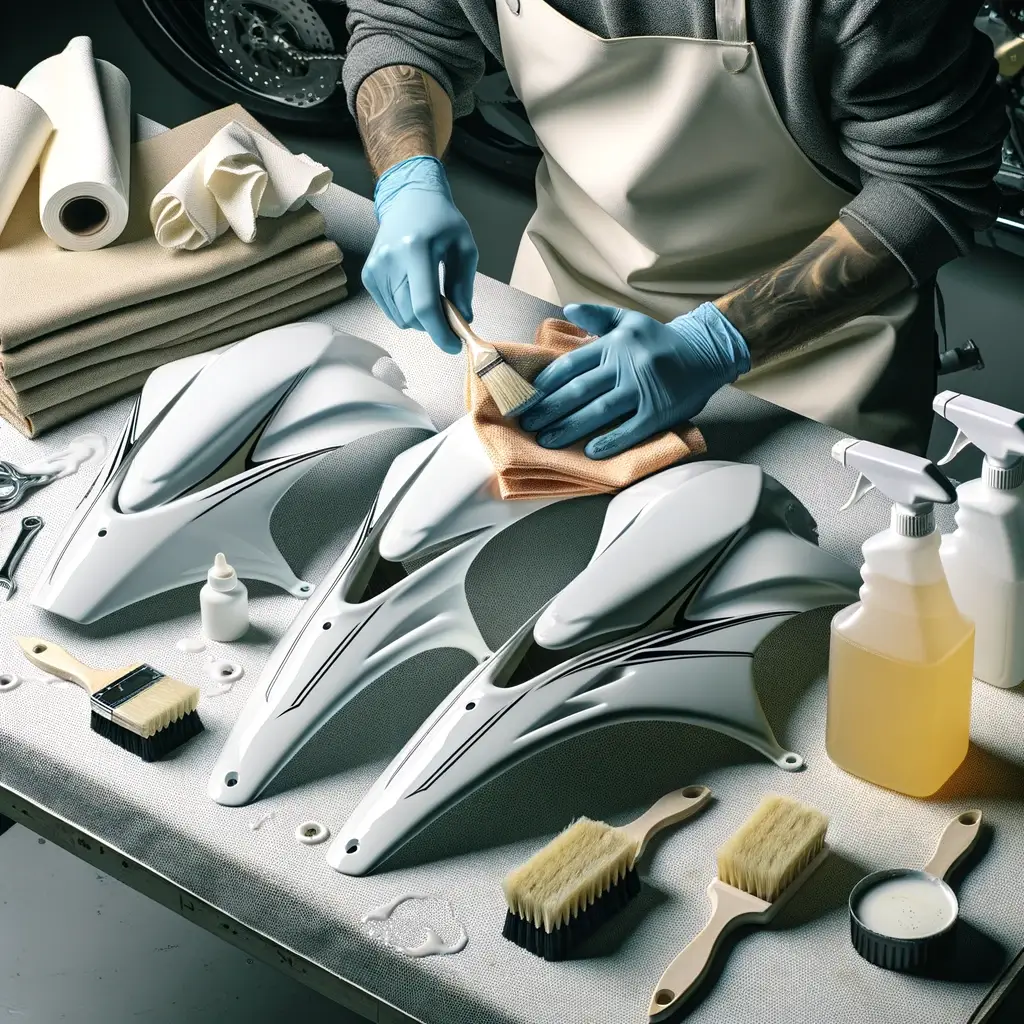
- Use only cleaners approved for the panel and the selected coating system.
- Follow the product sequence for washing, degreasing, rinsing, wiping, and drying; do not substitute a household solvent without compatibility guidance.
- Use clean materials and avoid touching prepared surfaces with bare hands.
- Inspect vents, edges, recesses, and repaired areas for residue before sanding or coating.
If the existing finish softens, smears, lifts, or reacts during cleaning, stop and identify the old coating before continuing.
Repair Any Damage First
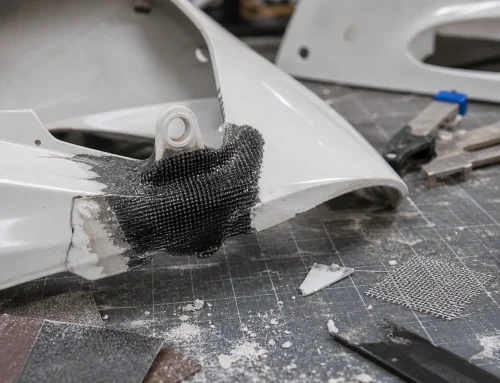
Paint will not correct a crack, distorted panel, or misaligned mounting point. Confirm the panel material, repair structural damage with a compatible system, and test-fit the panel before finish preparation.
For ABS cracks, tabs, or missing areas, use the decision steps in the ABS motorcycle fairing repair guide. Replace the panel when its shape or mounting alignment cannot be restored reliably.
Step 3. Prepare the Surface for the Selected Coating System
Sanding removes defects and creates the surface profile required by the next product. The correct abrasive range depends on the existing finish, repair material, primer, color system, and whether the work is dry or wet.
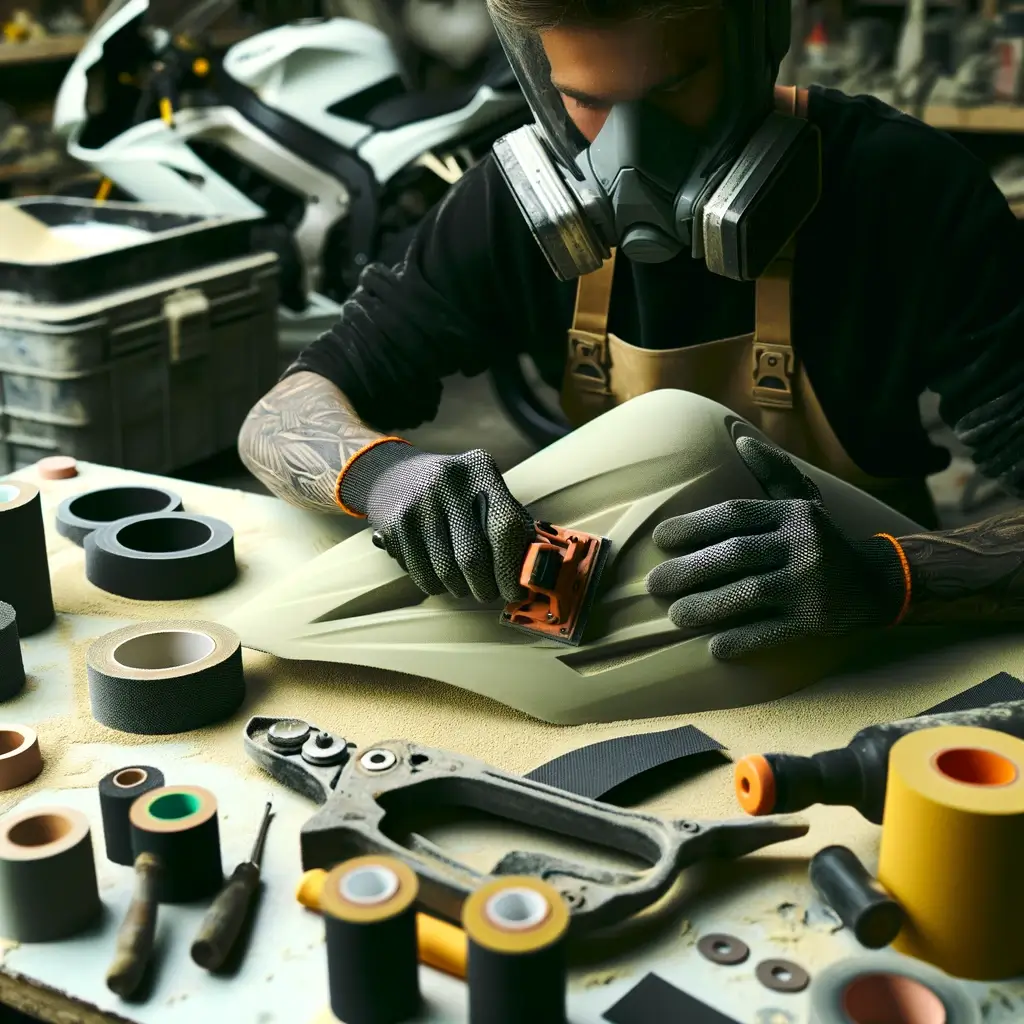
- Remove loose coating and repair structural damage before finish sanding.
- Use a firm sanding block on broad surfaces and light pressure near edges and body lines.
- Follow the coating manufacturer’s abrasive range for each transition.
- Clean and inspect the panel under good lighting before primer.
- Do not sand through edges or erase panel geometry to chase a cosmetic defect.
There is no universal grit progression that is correct for every repair and paint system.
Step 4. Apply Primer
Primer creates the compatible base between the prepared panel and the color system. Use only a primer or adhesion system that the manufacturer identifies for the panel material and the products that will follow it.
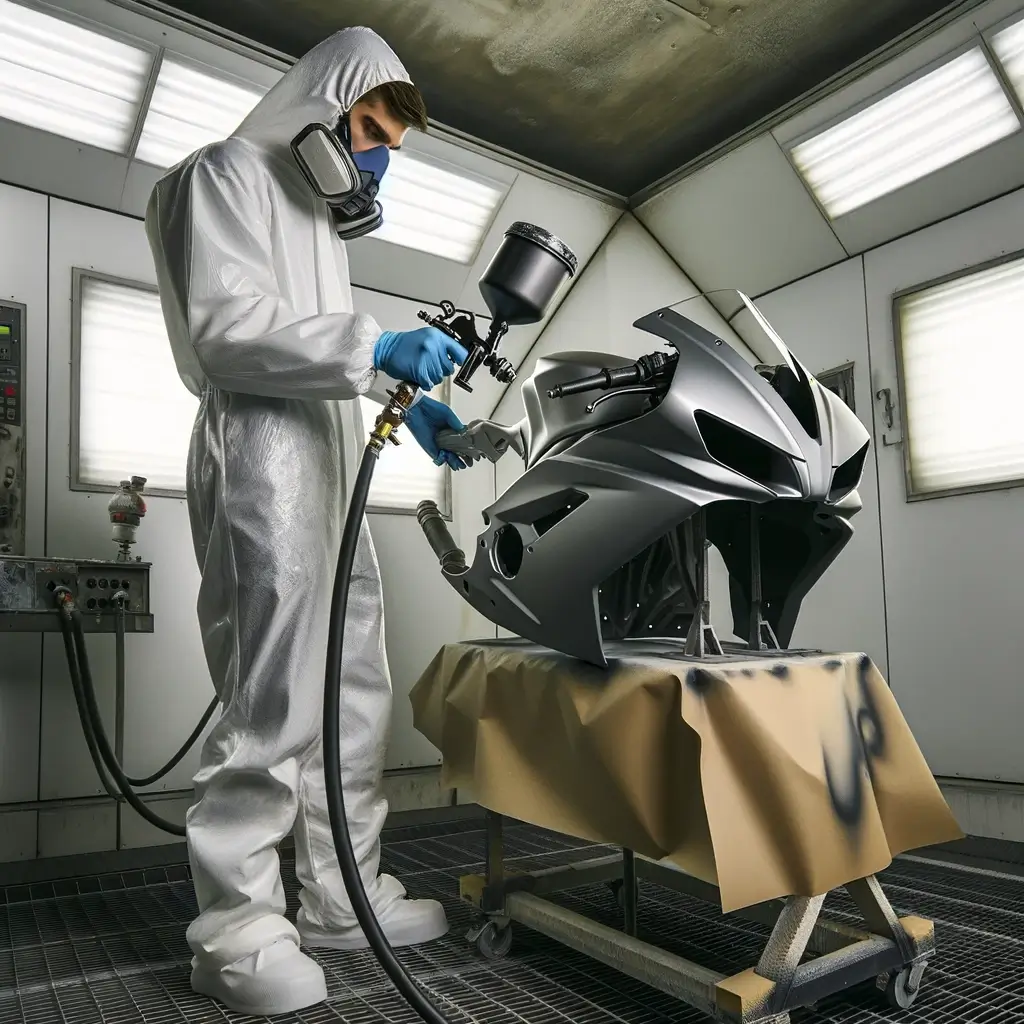
- Confirm the panel is clean, dry, and uniformly prepared.
- Read the primer’s technical data sheet and safety data sheet before mixing or spraying.
- Apply the number of coats, flash time, film build, and sanding sequence specified for that exact product.
- Do not substitute a generic mixing ratio or cure time from another brand.
If the product’s required controls are beyond your workspace, stop and use a professional refinisher.
Step 5. Prepare the Coating System
Mix only the products and quantities specified by the coating manufacturer’s technical data sheet. Use the stated reducer, hardener, induction time, pot life, temperature range, and measuring method for that exact system.
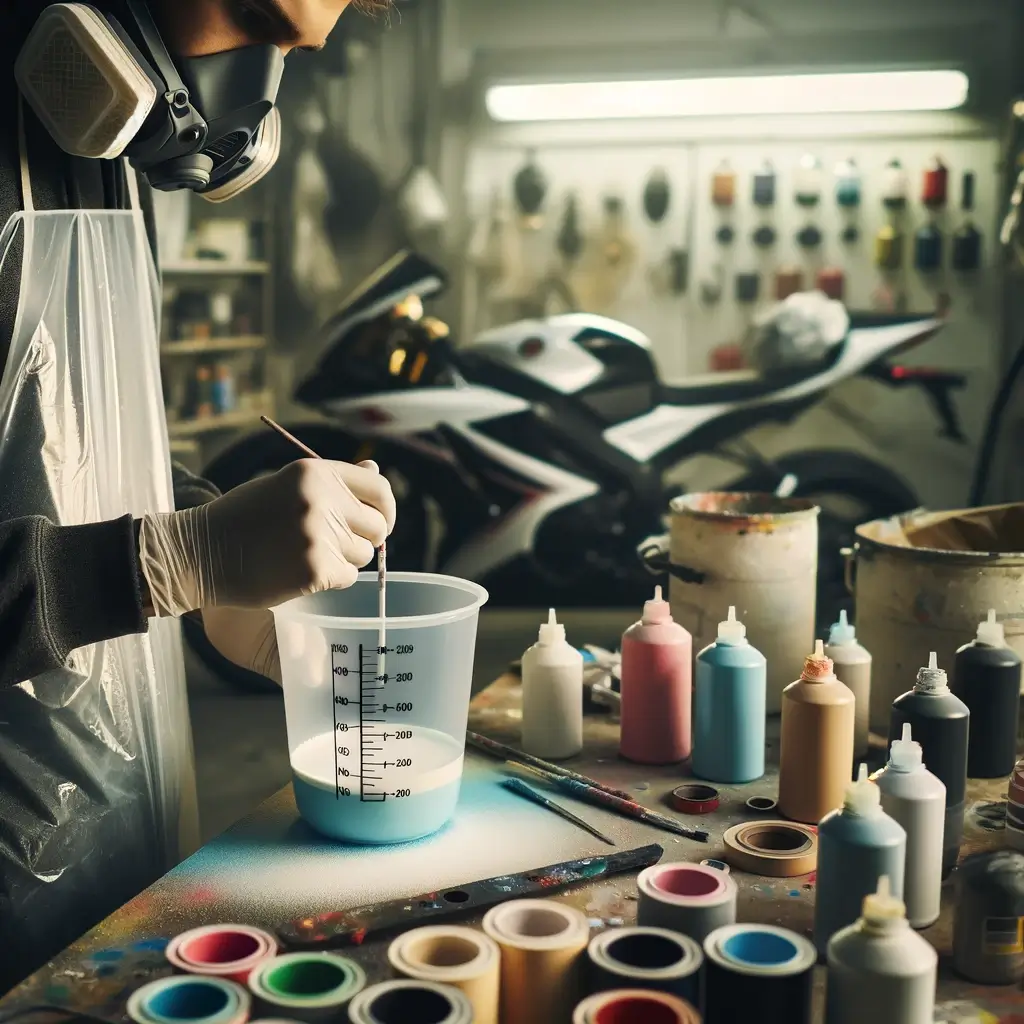
Do not copy a ratio from another brand or add hardener unless the selected product requires it. Wear the required protection, keep containers labeled, and dispose of mixed material according to the product instructions and local rules.
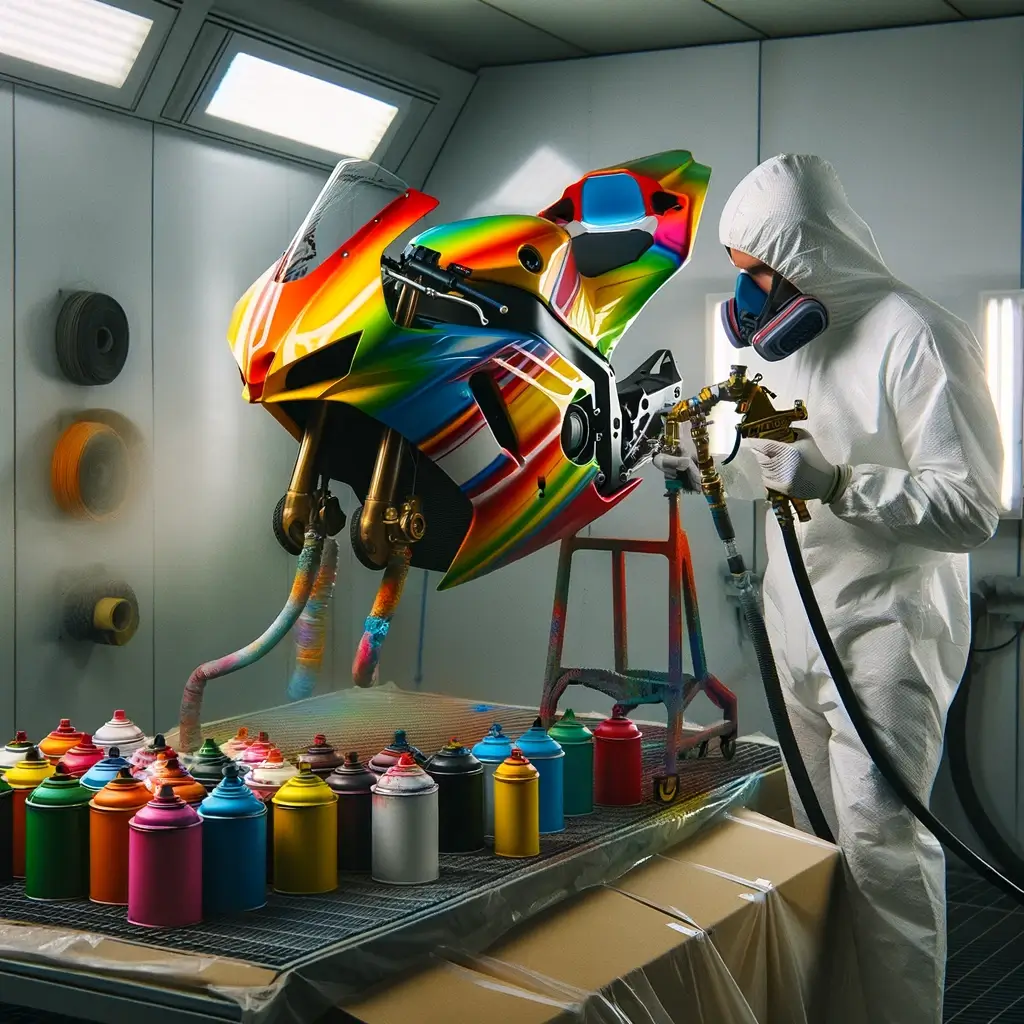
Step 6. Apply the Color Coating
Color application is controlled by the selected paint system. Coat count, overlap, gun setup, flash time, film build, and sanding between coats are product-specific.
- Test the color and spray pattern on a compatible sample before the fairing set.
- Use light, controlled passes only within the product’s application window.
- Inspect edges, vents, and adjoining panels for consistent coverage.
- Stop if the coating lifts, wrinkles, reacts, or remains outside the expected cure state.
- Apply decals or additional color stages only when the system allows it.
Let the technical data sheet determine the next step rather than adding a generic extra coat.
Step 7. Apply a Compatible Clear Coat
Clear coat provides gloss and protects the color layer, but the correct product and process depend on the paint system underneath it. Use a compatible clear recommended by the coating manufacturer.
- Follow the product-specific coat count, flash time, application temperature, and cure schedule.
- Do not reassemble the fairings until the stated handling and full-cure requirements are met.
- Do not spray a catalyzed clear unless your workspace and protective equipment meet the product’s safety requirements.
A professional paint shop is the safer route when the specified coating system requires booth controls that are not available at home.
DIY Painting vs. Buying Custom: Which One Wins?
| Decision factor | Repaint existing panels | Order a custom-painted replacement kit |
|---|---|---|
| Panel condition | Best when the current panels are sound and correctly aligned | Best when several panels are damaged, missing, or due for replacement |
| Workspace | Requires the controls and protective equipment specified for the coating system | Paint is completed before dispatch |
| Design | Depends on local refinishing skill and masking work | Design preview can be confirmed before production |
| Cost reference | Current materials, equipment, and local labor quote | Current model-specific product page or written quote |
| Time reference | Preparation, application, and full cure for the selected system | Production plus destination-specific delivery time |
Frequently Asked Questions
Can I paint motorcycle plastics without sanding?
Most refinishing systems require a defined surface profile, but the preparation method is product-specific. Do not coat a glossy, contaminated, peeling, or unidentified finish and expect adhesion promoter to correct it.
Follow the selected primer or coating system’s preparation instructions for the panel material and existing finish. If the instructions allow a non-sanding process, use that process exactly; otherwise prepare the surface with the stated abrasive range and cleaning sequence.
What’s the best spray paint for motorcycle plastics?
There is no single best paint system for every fairing. Choose a primer, color, and clear that are mutually compatible and approved for the panel material. Compare the manufacturer’s technical data sheets, not only the product label or online reviews.
How much does it cost to paint motorcycle fairings?
The cost of repainting depends on the condition of the panels, the coating system, safety equipment, workspace, color complexity, and local labor rates. Compare a complete materials-and-equipment list with the current price of a model-specific custom-painted replacement kit before deciding.
How long does it take to paint motorcycle fairings?
Project time is product-specific. Surface repair and preparation may take longer than spraying, and each primer, color, and clear has its own flash, sanding, handling, and full-cure schedule. Use the longest requirement stated in the selected system and do not rush reassembly.
What is the best way to paint motorcycle plastics at home?
A reliable workflow is: remove and label the panels, clean and degrease, repair damage, sand to the coating system’s specification, apply a compatible primer, apply color, apply clear, and allow the complete system to cure before reassembly. The exact grit sequence, coat count, mixing ratio, flash time, and cure time must come from the products you are actually using.
Do I need a paint booth?
A clean area is not automatically a safe spray area. The selected coating system may require engineered ventilation, ignition control, and respiratory protection that an ordinary garage cannot provide. Follow the safety data sheet and local rules; otherwise use a professional booth.
Can I just use decals instead of painting?
Decals can be applied as a separate finished layer or incorporated into a compatible clear-coat system, depending on the decal material, adhesive, paint system, and intended service.
Do not apply clear over an unknown decal or outside the coating system’s recoat window. Test compatibility first and follow the decal and coating manufacturers’ instructions for surface preparation, placement, cure, and clear coating. For factory-painted custom kits, confirm the approved graphic layout before production.
Still think DIY is the best choice?
Painting existing fairings can make sense when the panels are sound and you have the workspace, equipment, and experience required by the selected coating system. Repair structural damage before refinishing, and let each product’s technical and safety documents control the process.
If you need replacement bodywork or want the paint completed before delivery, browse GoMotoTrip motorcycle fairing kits. Kits are produced for the selected model and year range, with custom paint available before shipping.