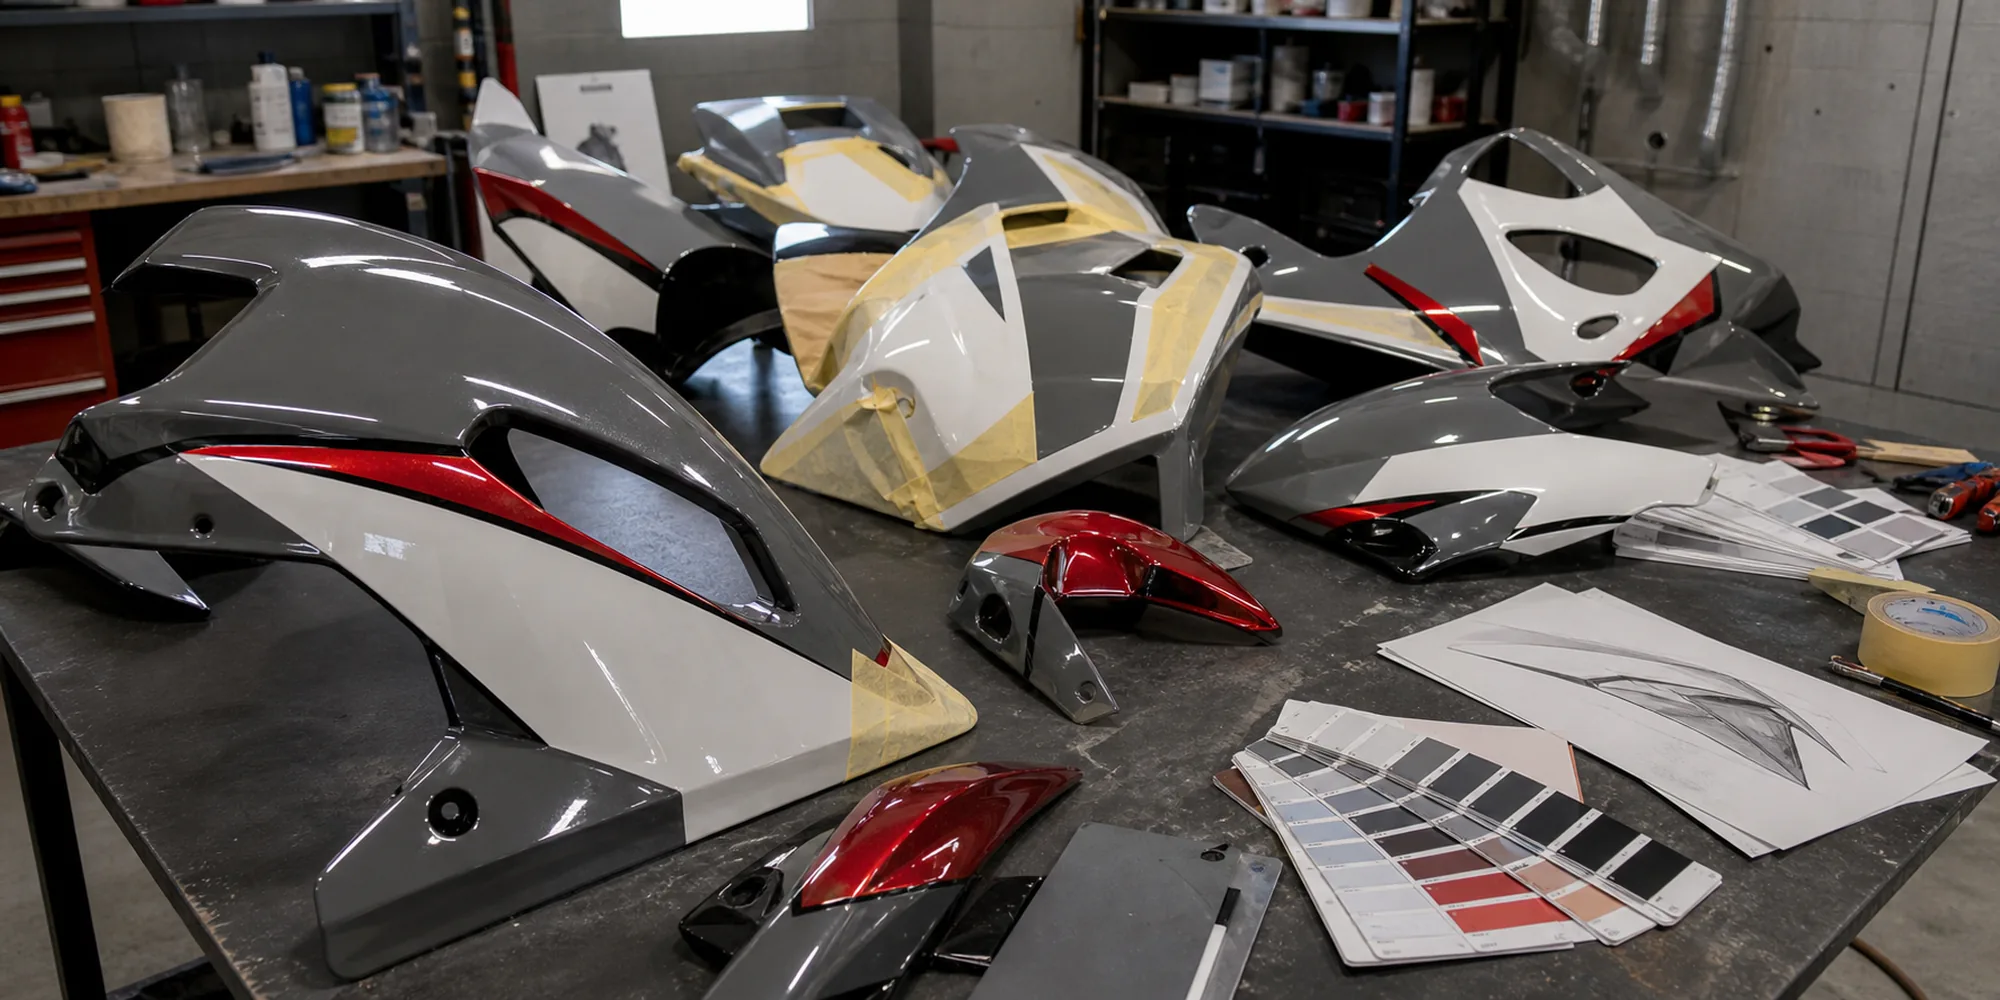
Overview
Custom-painted motorcycle fairings let you choose the color layout, graphics, finish, and model-specific bodywork as one order. The practical starting point is a clear reference: your exact motorcycle model and year, the colors you want, and photos or a sketch showing the design from more than one angle.
GoMotoTrip reviews the idea against the panel shapes, prepares a visual preview, and confirms the design before production. Custom paint is included with eligible street fairing kits, so the current model-specific listing or quote is the price reference.
You can start with an OEM-inspired layout, adapt a race-inspired scheme to another motorcycle, or submit a simple color sketch. Browse the current motorcycle fairing catalog to confirm your model and year range first.
Strategy 1: Start from a Factory Design (Tweak What Exists)
The easiest way to design custom fairings: take a factory color scheme and change the colors. You get a proven layout with your personal palette.
This RSV4 example shows what happens when you keep the stock body lines but swap the color to a custom grey-and-red combination. Drag the slider to compare.
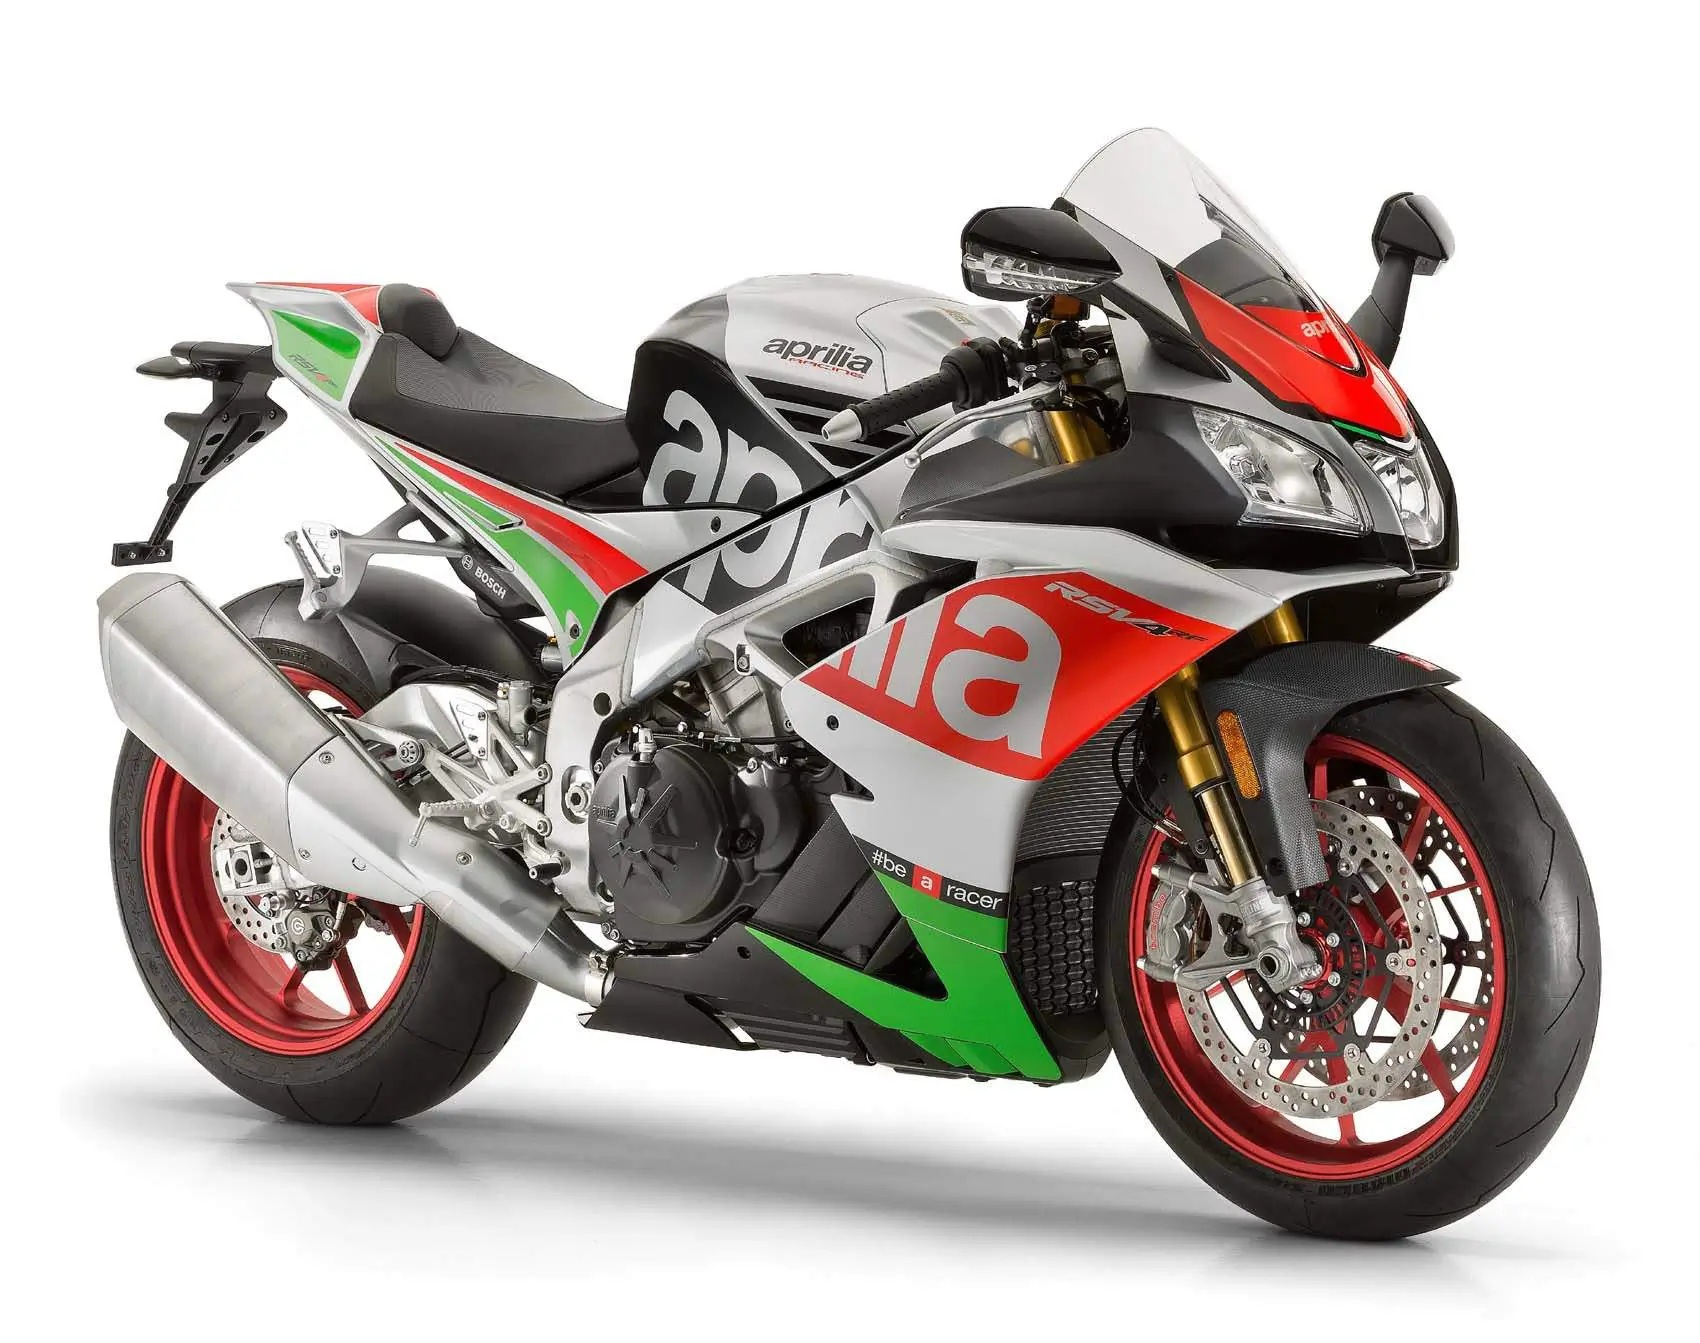
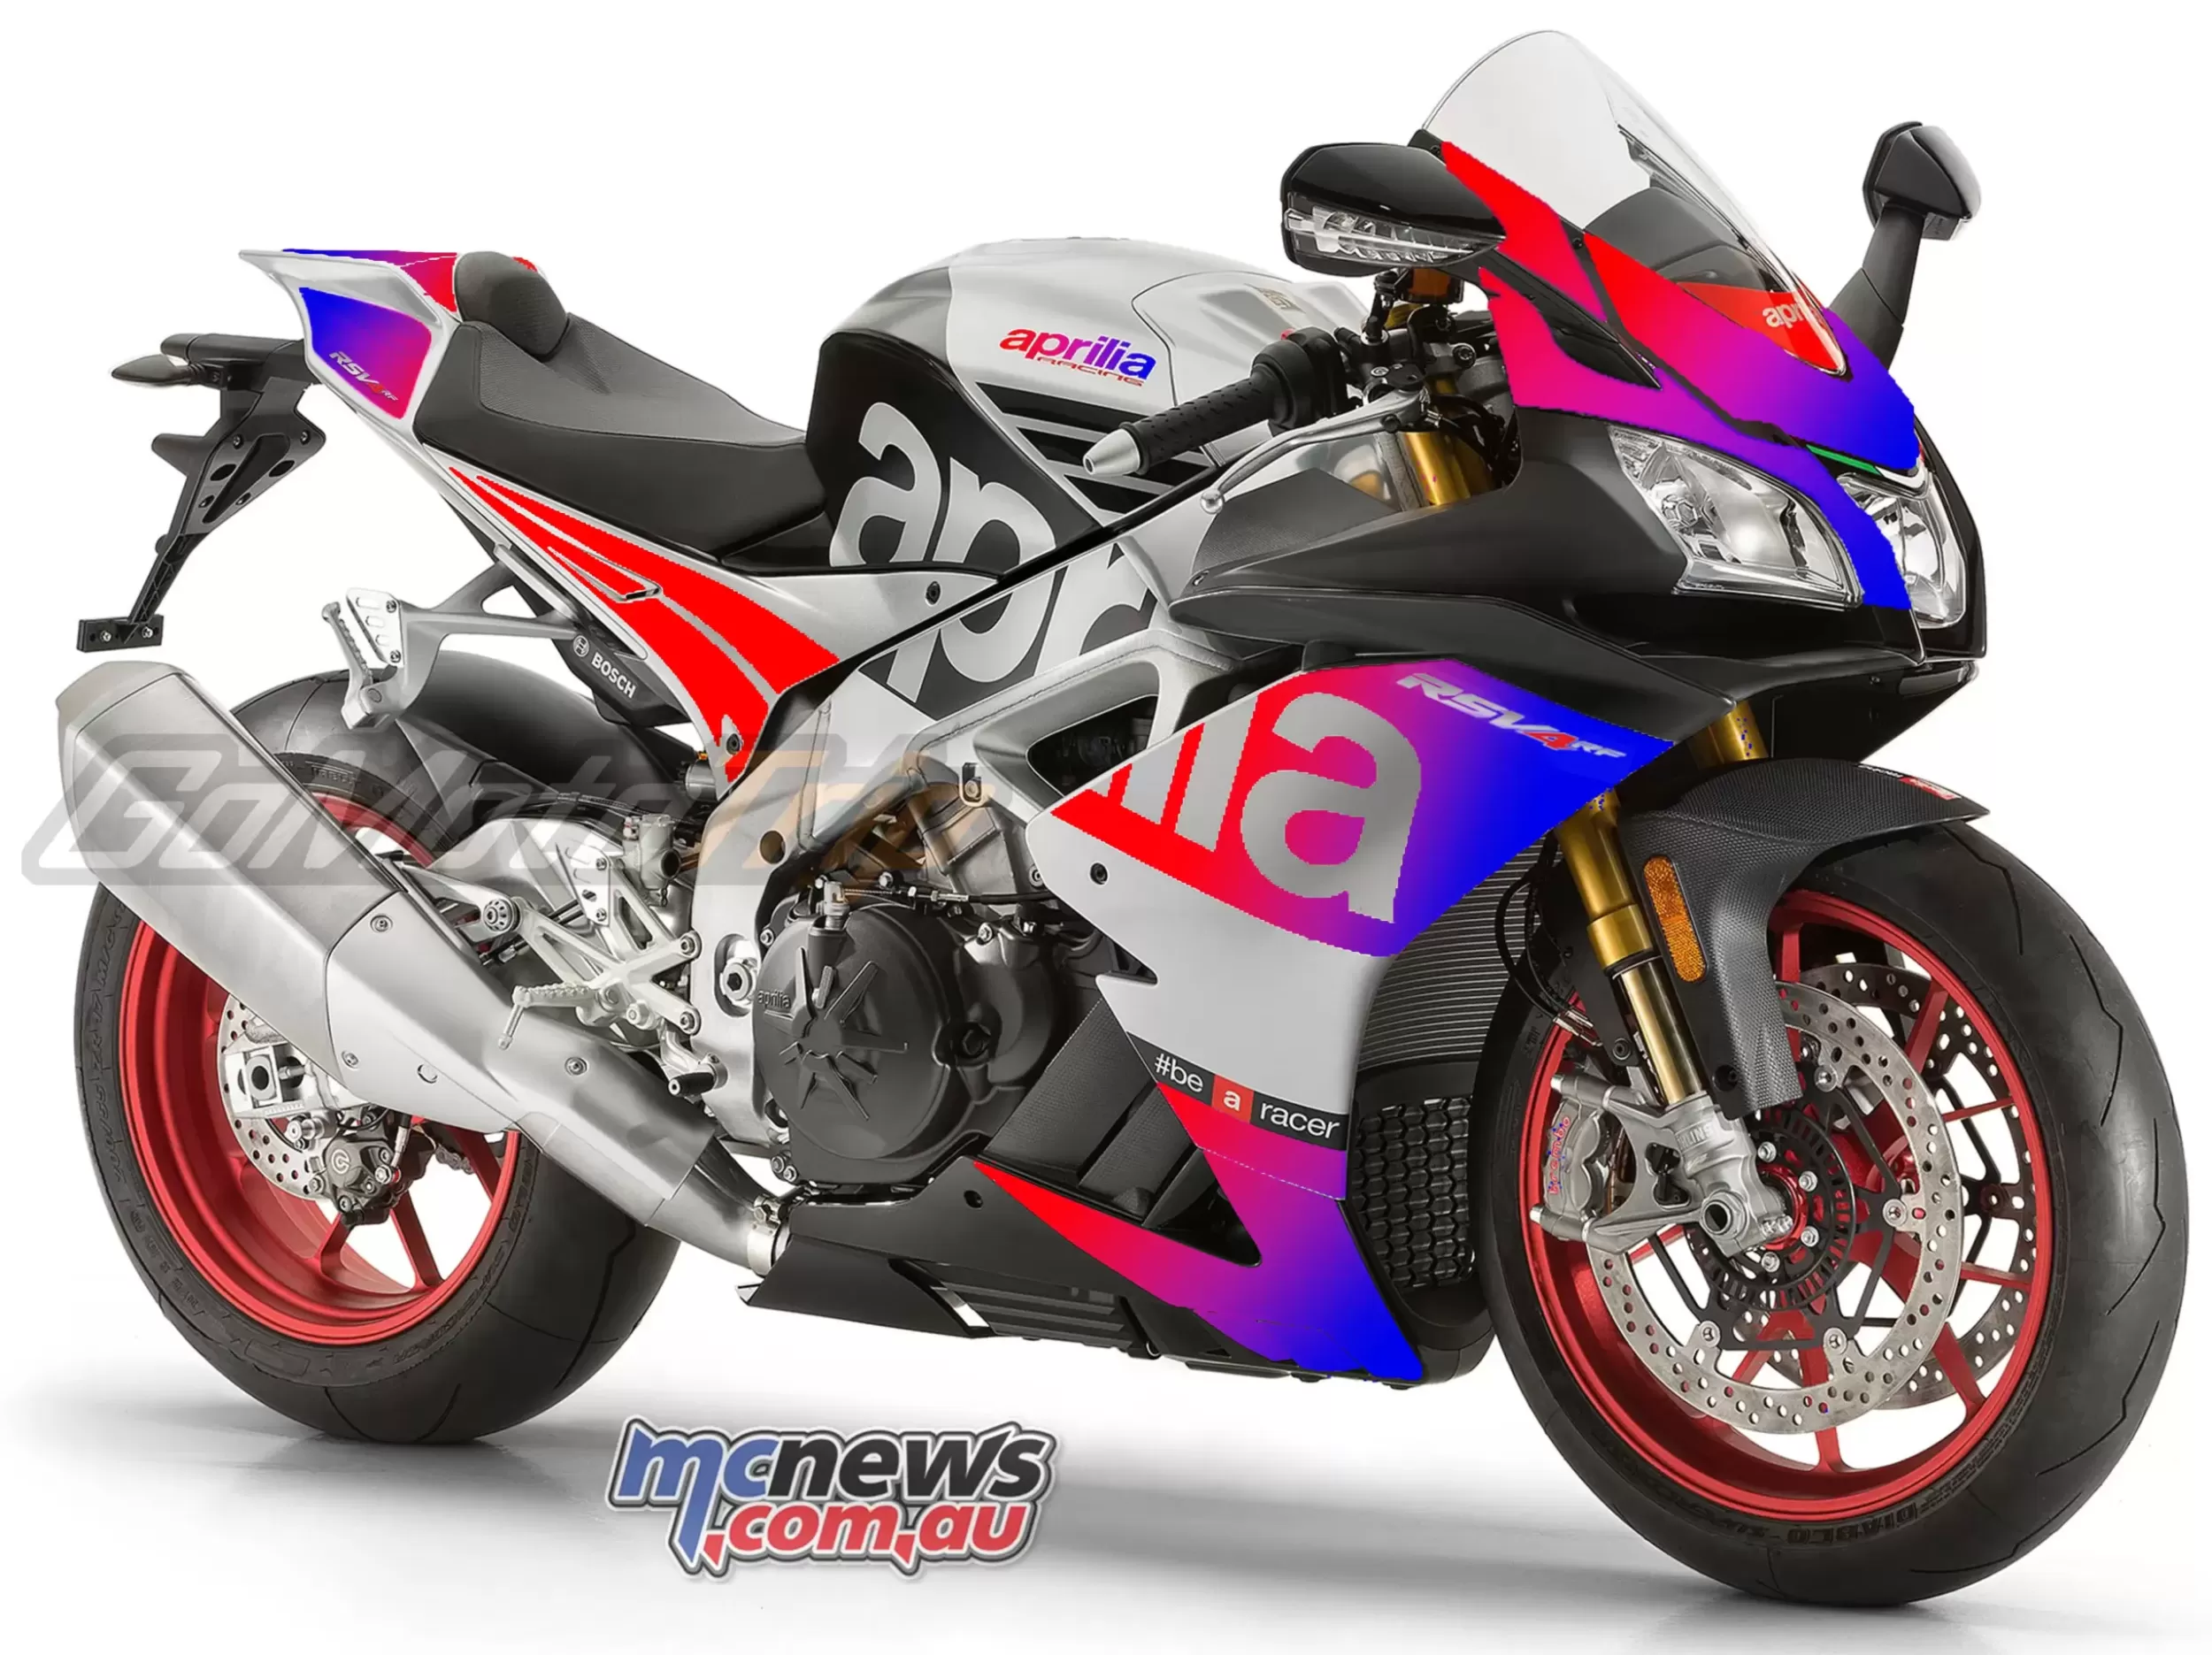
Start with a clear side-view image of the correct motorcycle generation, then mark the areas that should change.
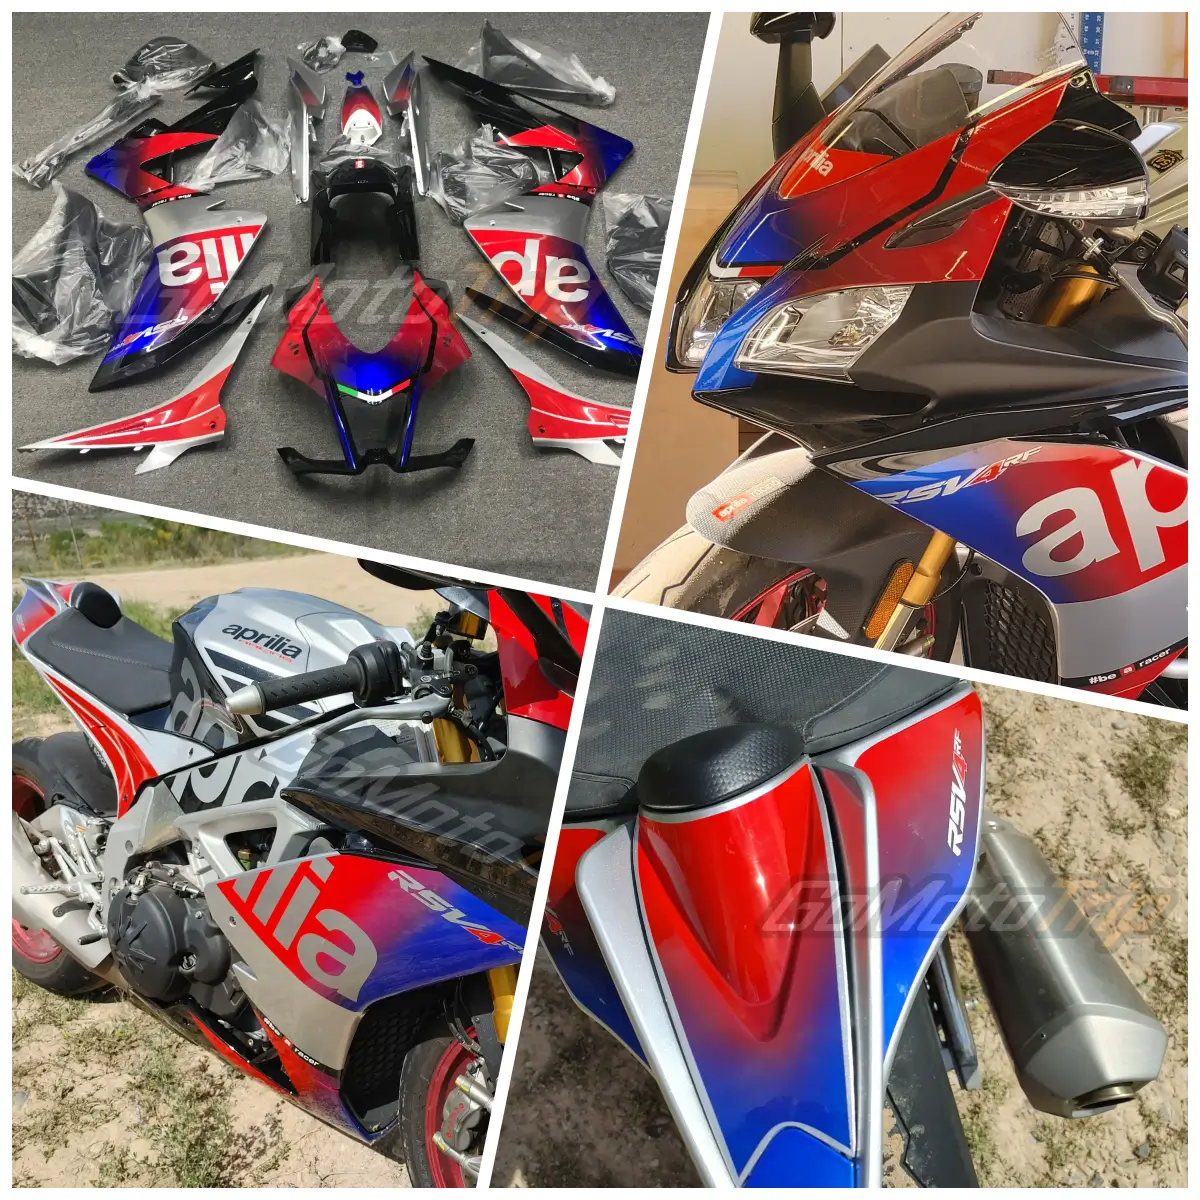
- Identify the base color, secondary colors, graphics, logos, and finish separately.
- Add front and rear references when a stripe or graphic crosses several panels.
- Use color samples or reference images rather than relying only on broad names such as red, silver, or blue.
- State which details must remain fixed and which can be adjusted to suit vents, edges, fasteners, and panel seams.
A rough edit is a design brief, not a dimensional production template. The approved preview becomes the layout reference.
Strategy 2: Borrow a Design from a Different Motorcycle
A design from another motorcycle can be used as a reference, but it must be adapted to the panel geometry of the target model. Vents, seams, tank shape, tail proportions, and fastener locations can change the scale and position of graphics.
Send several clear views and identify the elements that define the design: the color balance, main graphic direction, logo placement, and any detail that may be simplified. Feasibility is confirmed during preview review rather than promised from one photo.
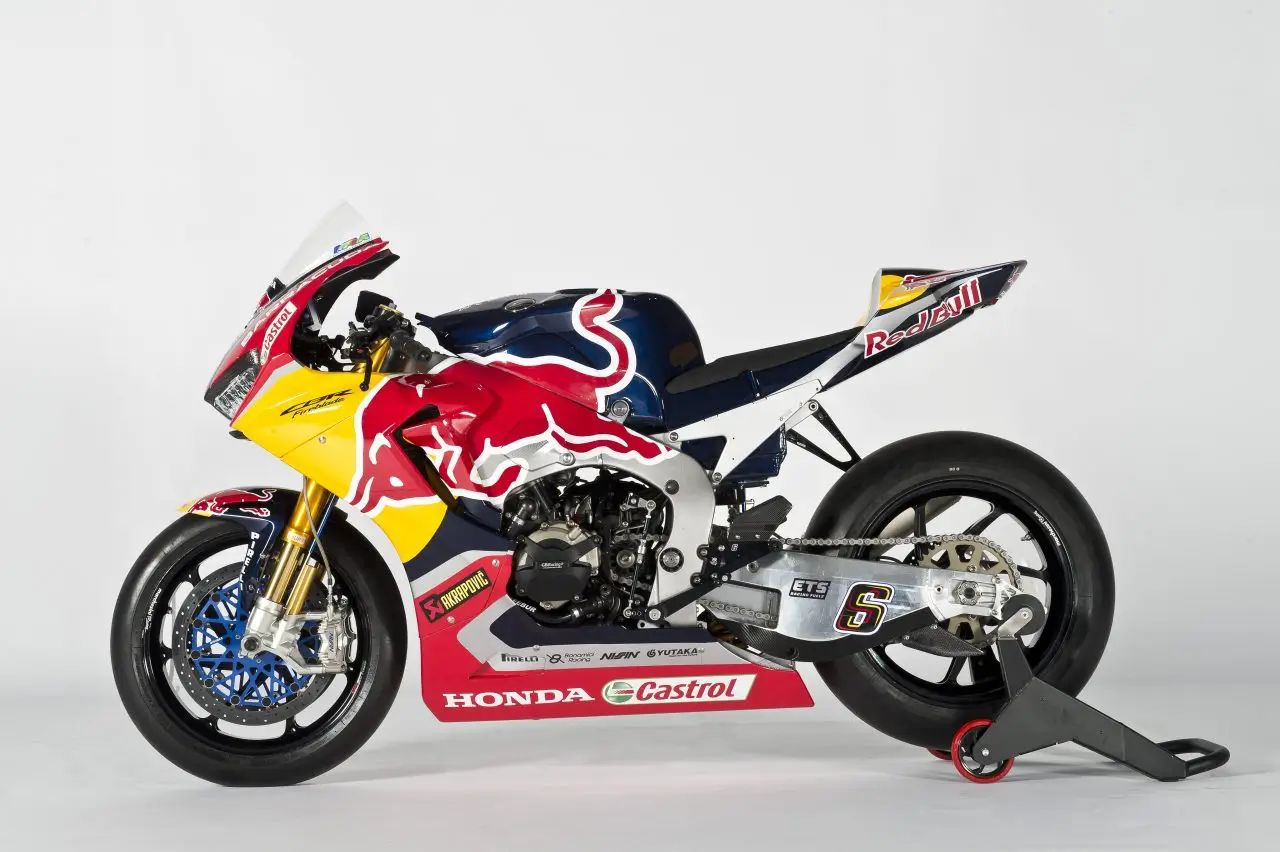
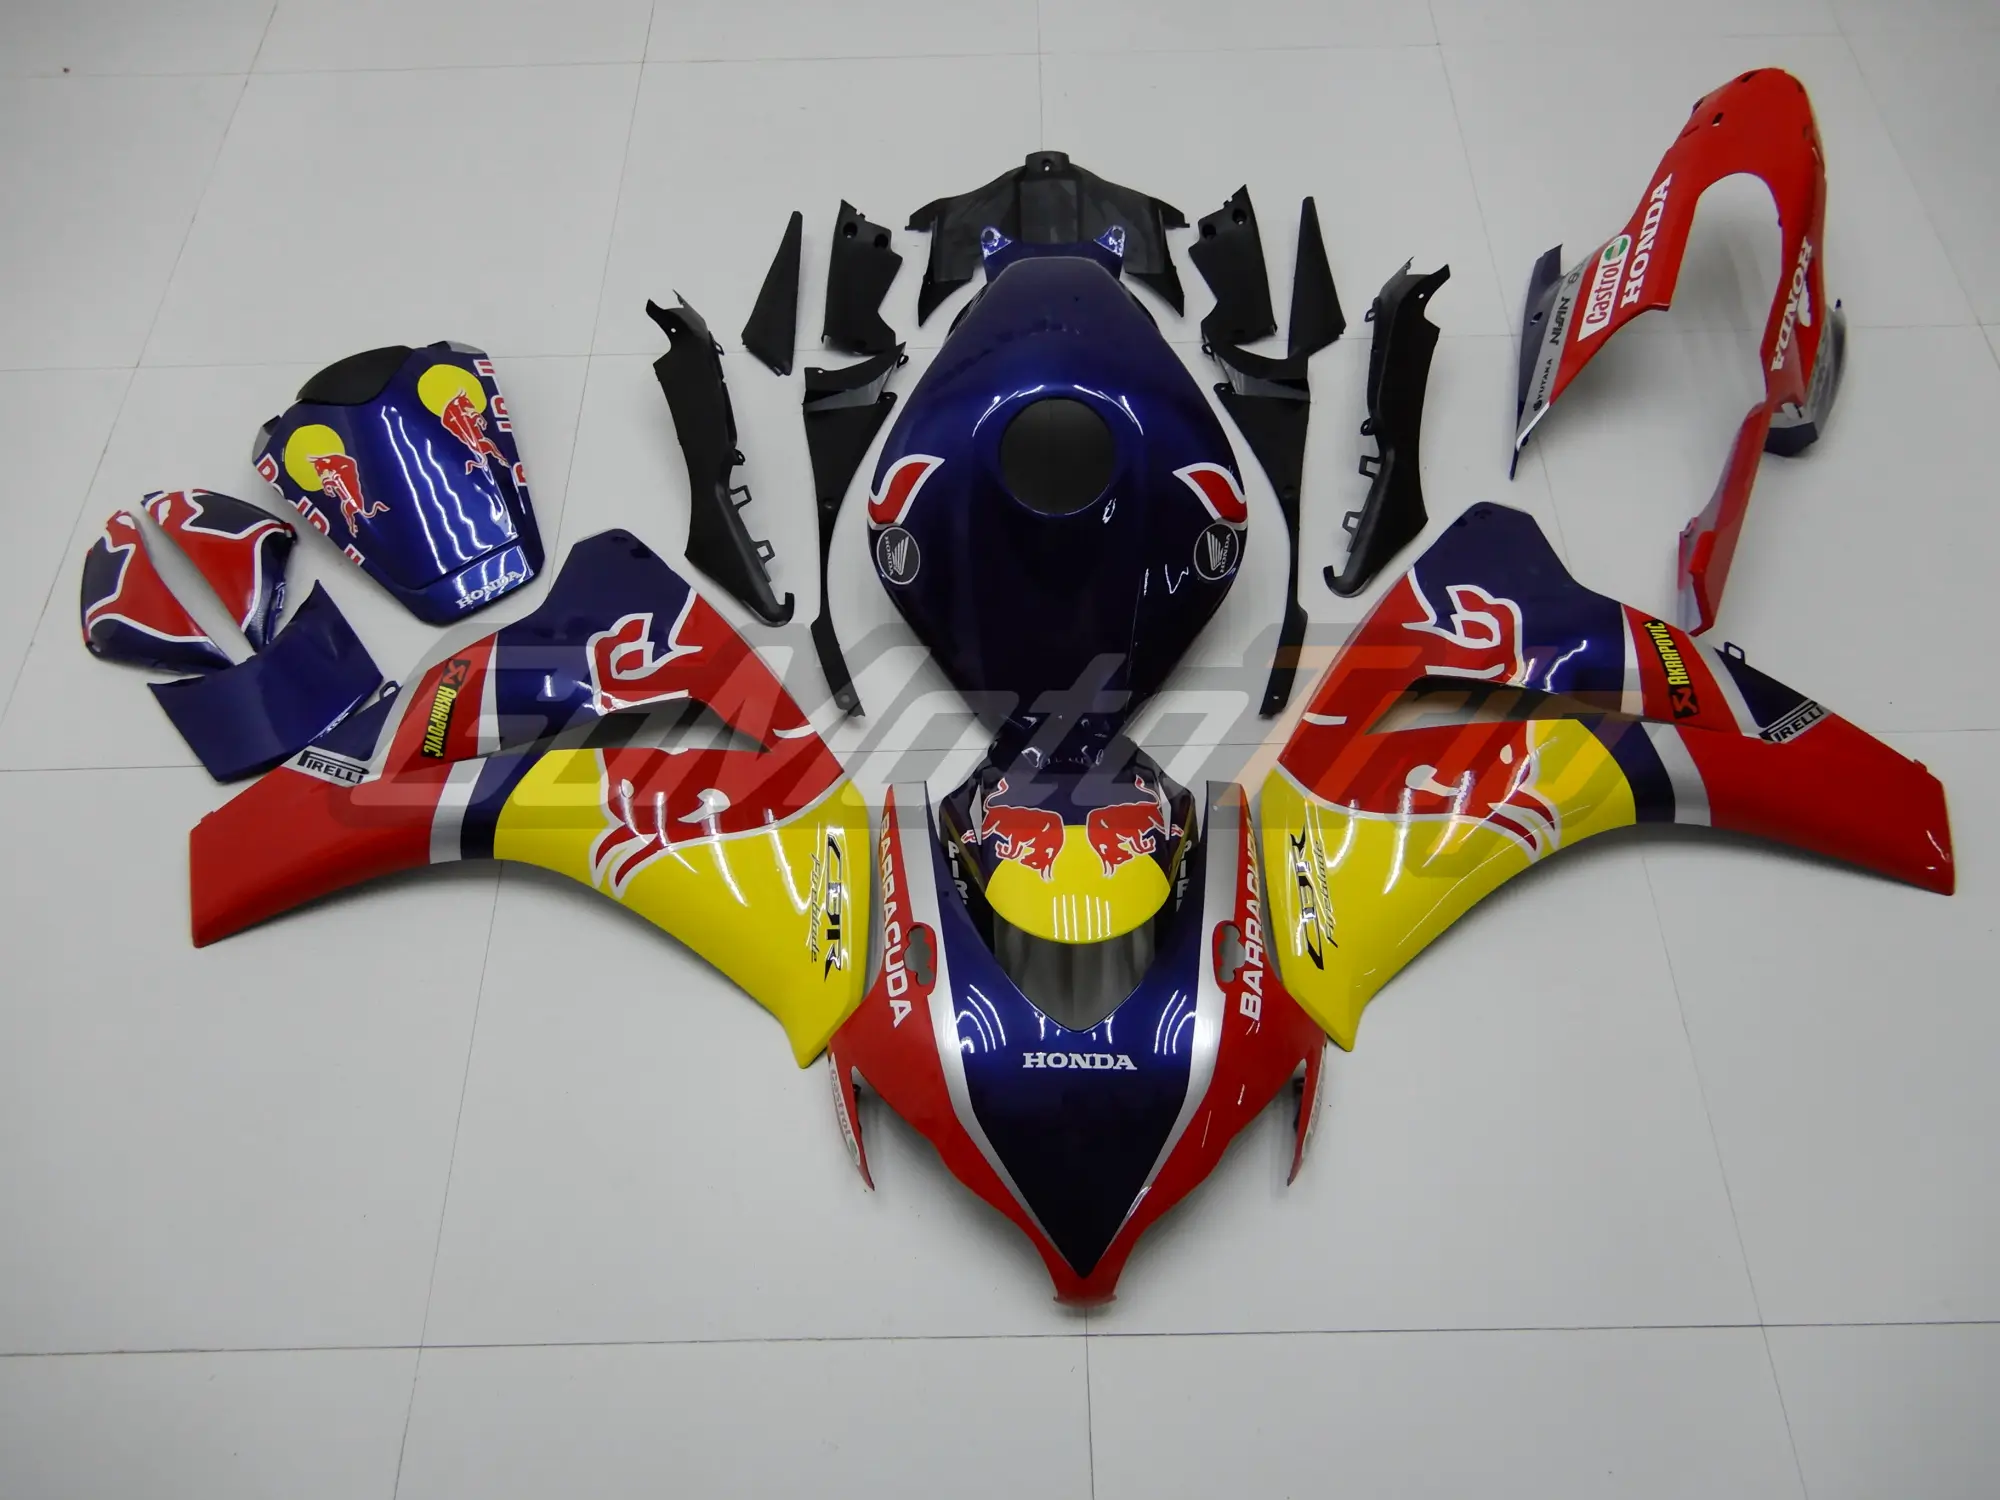
Cross-model adaptation should preserve the design direction without claiming an exact copy. The same graphic can look different when panel boundaries, surface curves, and viewing angles change.
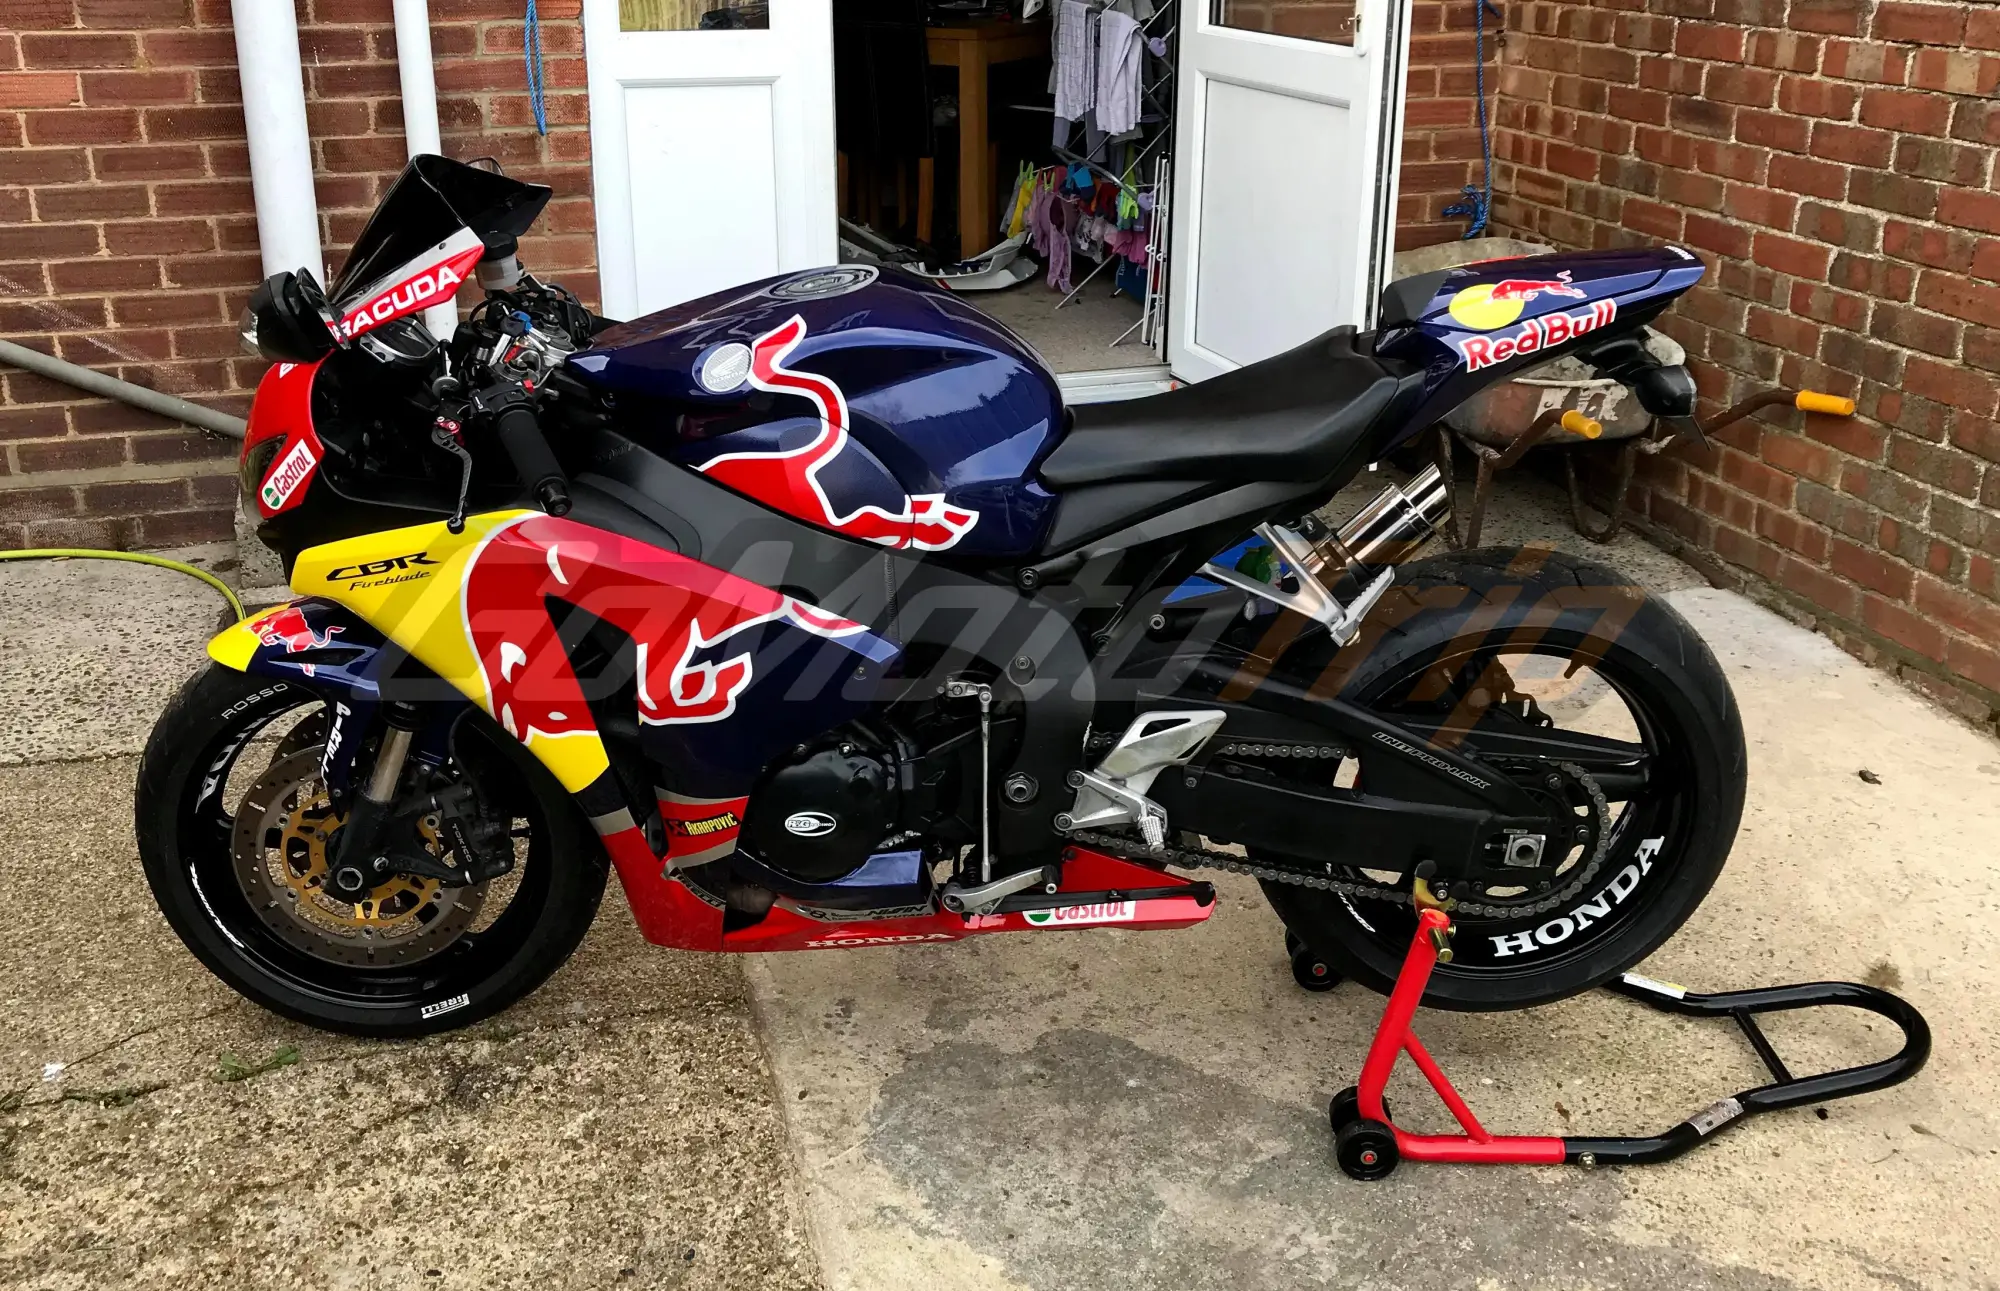
Review the preview at the panel seams, vents, and left-to-right transitions. Request layout changes before production if a key stripe, logo, or color boundary does not read correctly on the target motorcycle.
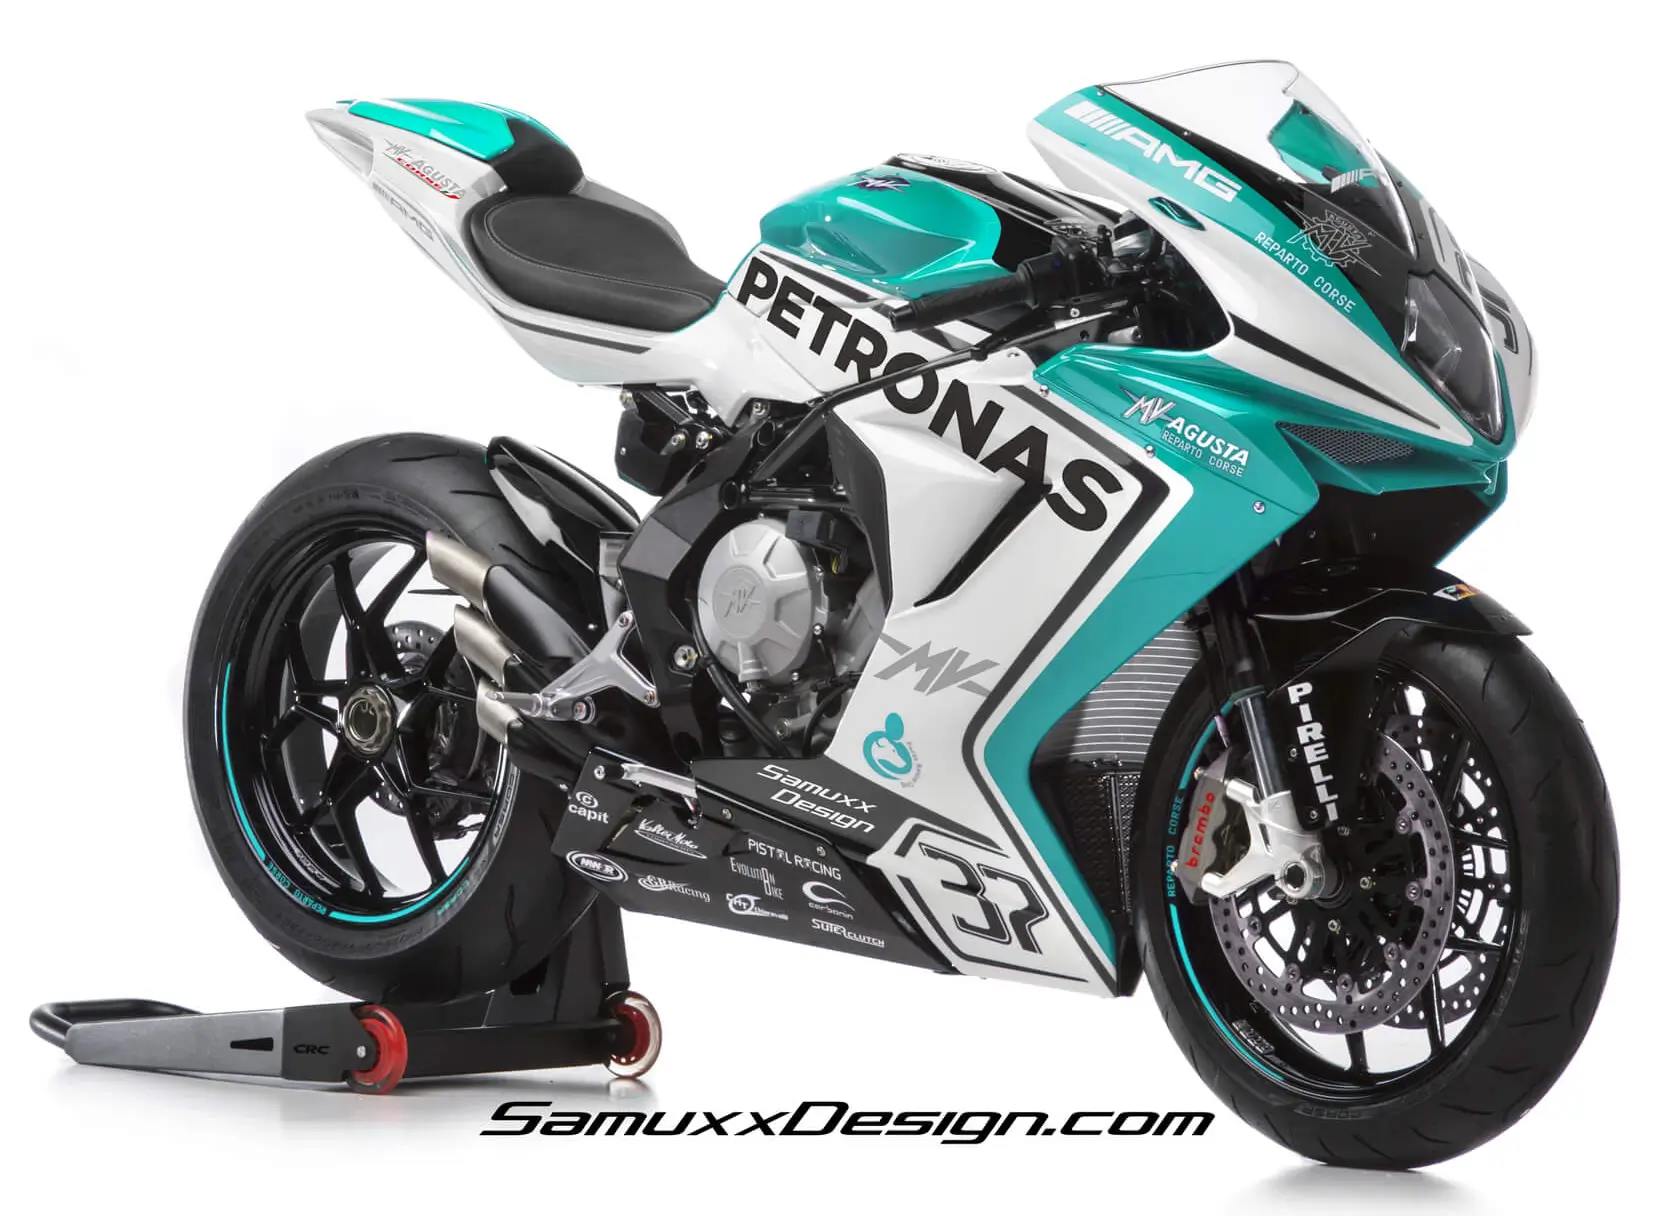
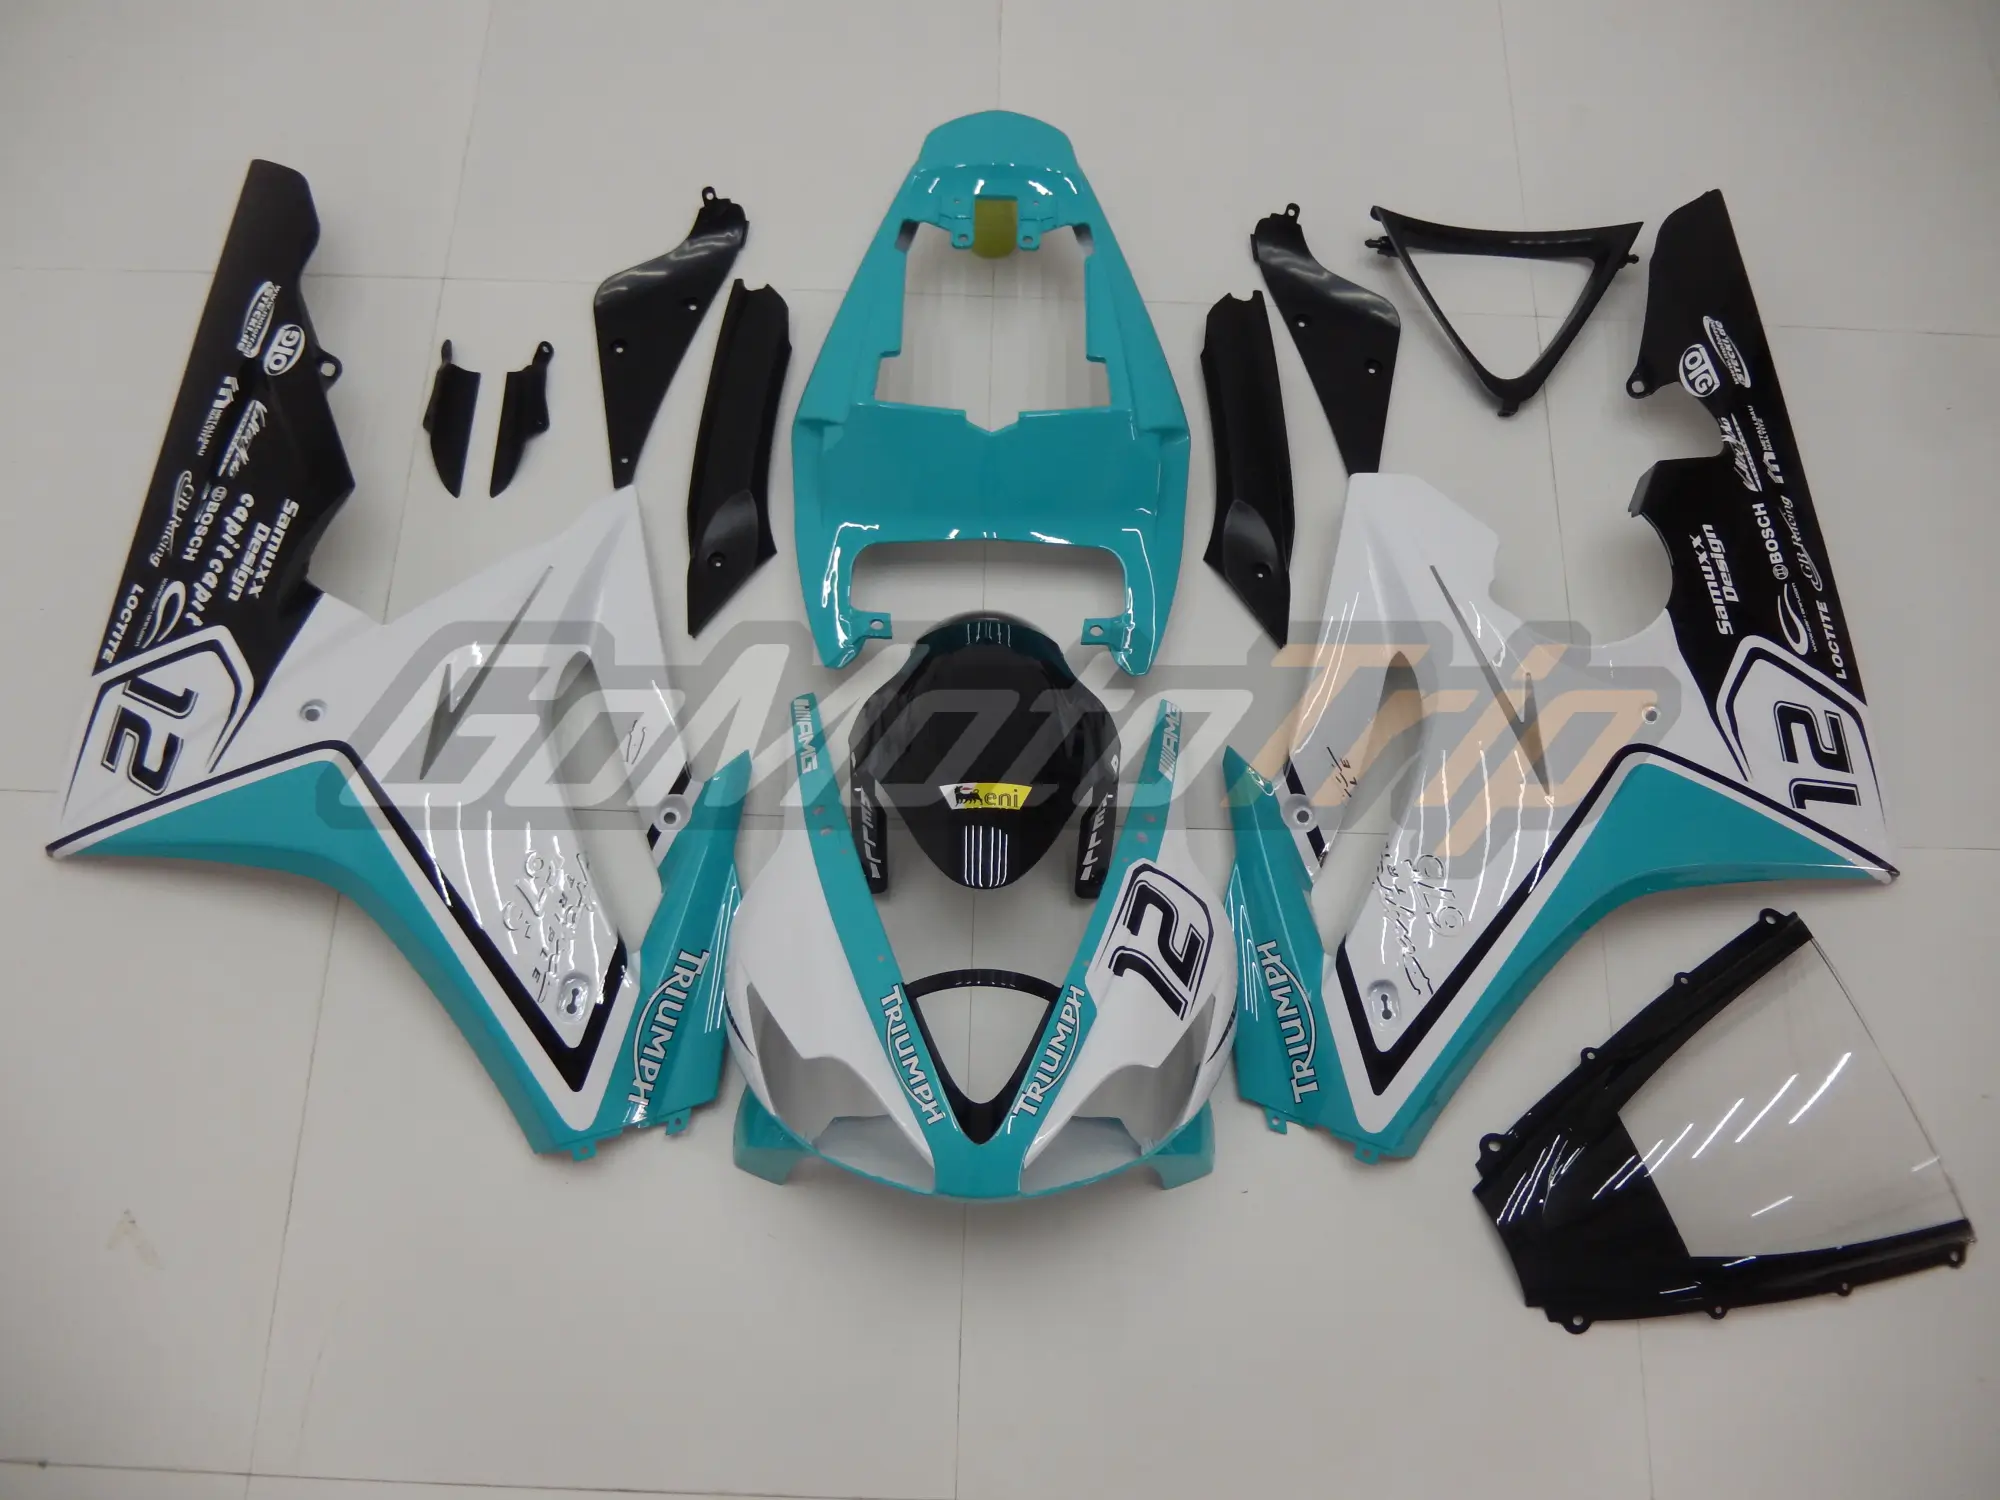
Use the references as a shared brief:
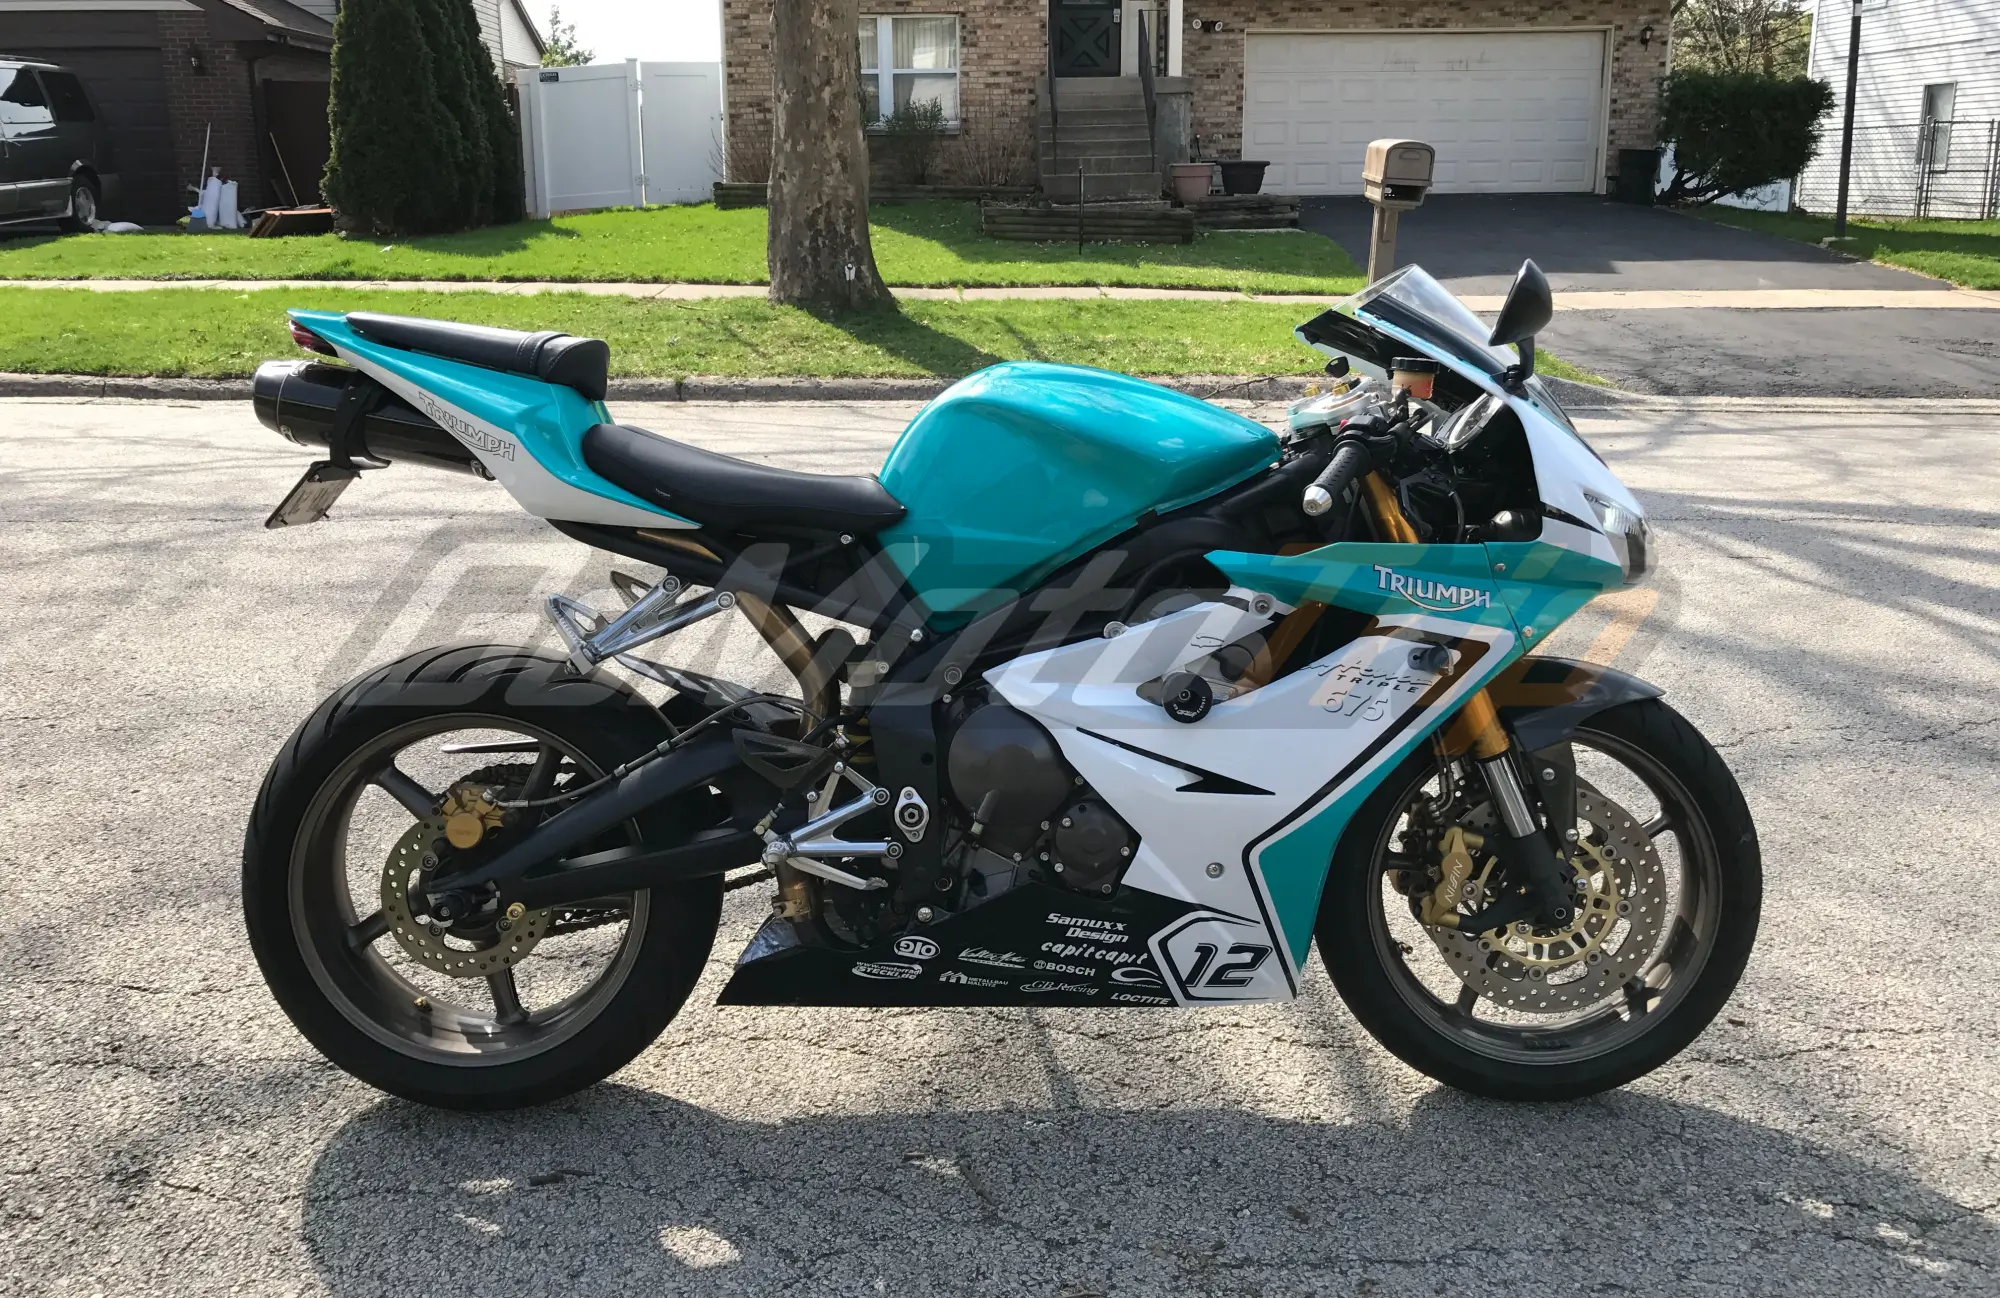
- Confirm the exact motorcycle make, model, generation, and year range.
- Include side, front, and rear views when the design wraps around the motorcycle.
- Mark essential graphics and the details that may move to fit the bodywork.
- Specify finish expectations and provide clearer source artwork for small logos or text.
- Resolve ambiguous colors and placement in the preview before production begins.
Strategy 3: Create Your Own Design from Scratch
No design software is required. A clear sketch, marked-up motorcycle photo, or set of reference images is enough to start the review.
- Digital brief: mark colors, graphics, logos, and finish on side, front, and rear views.
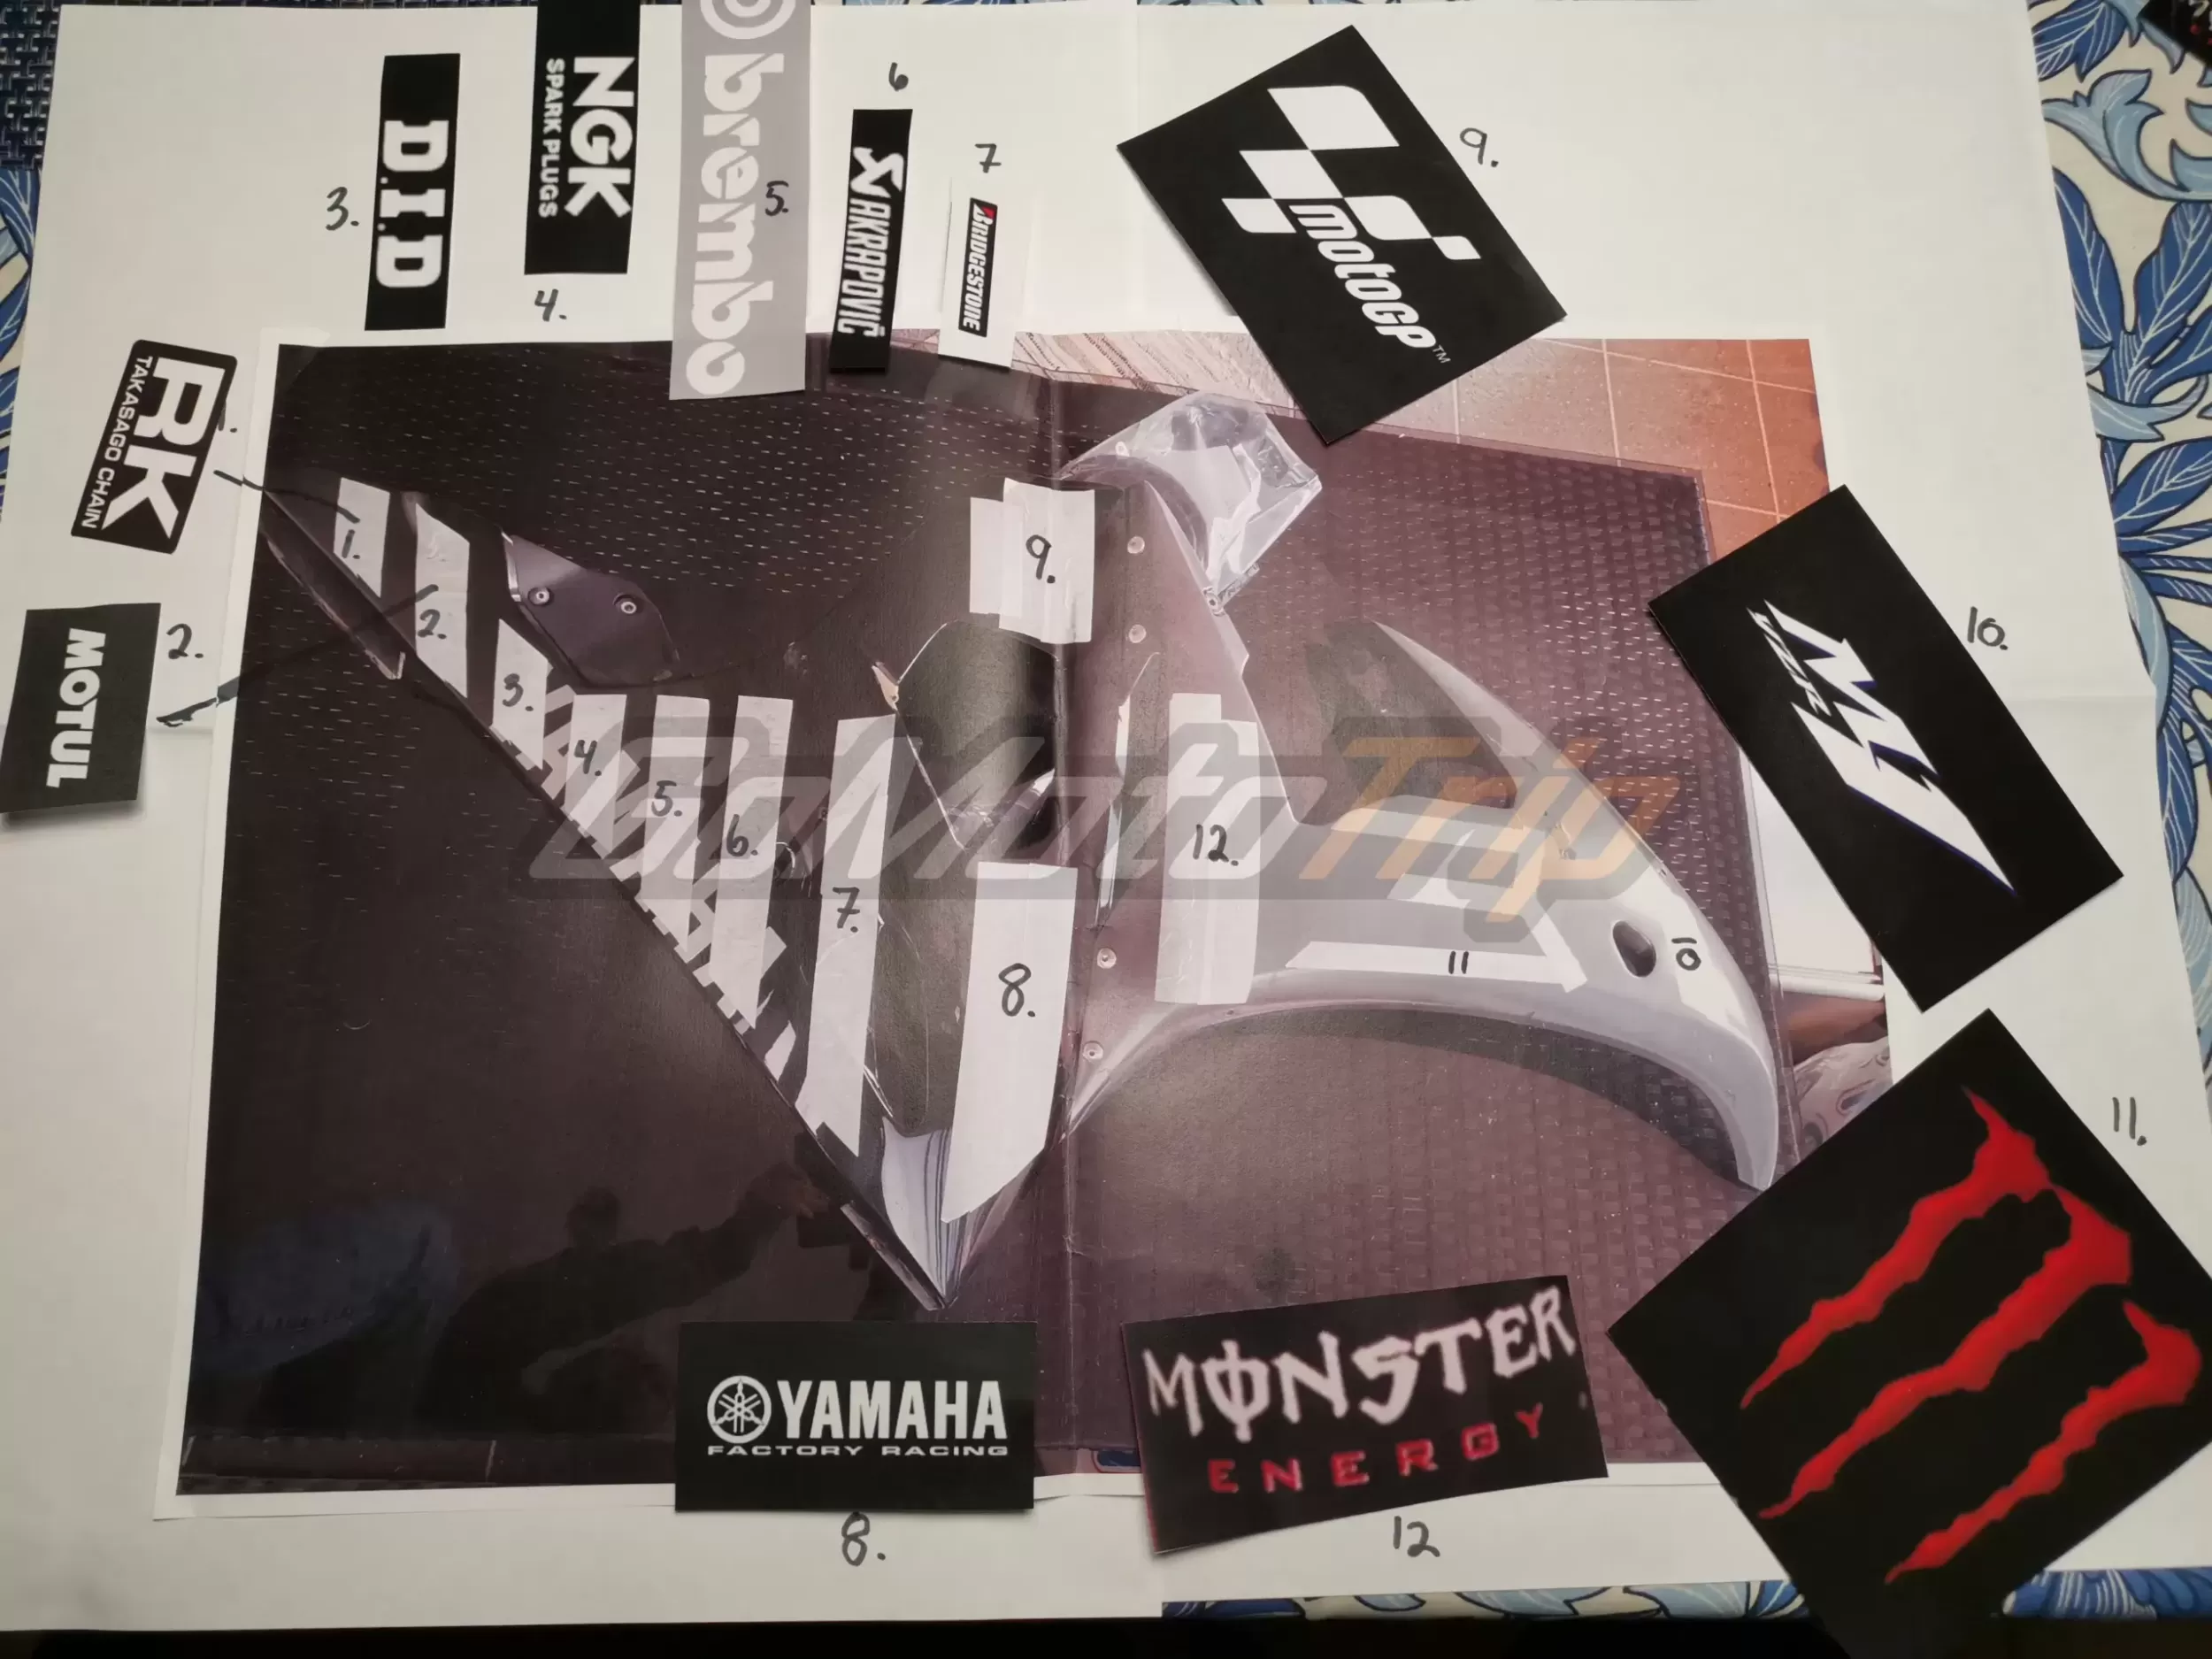
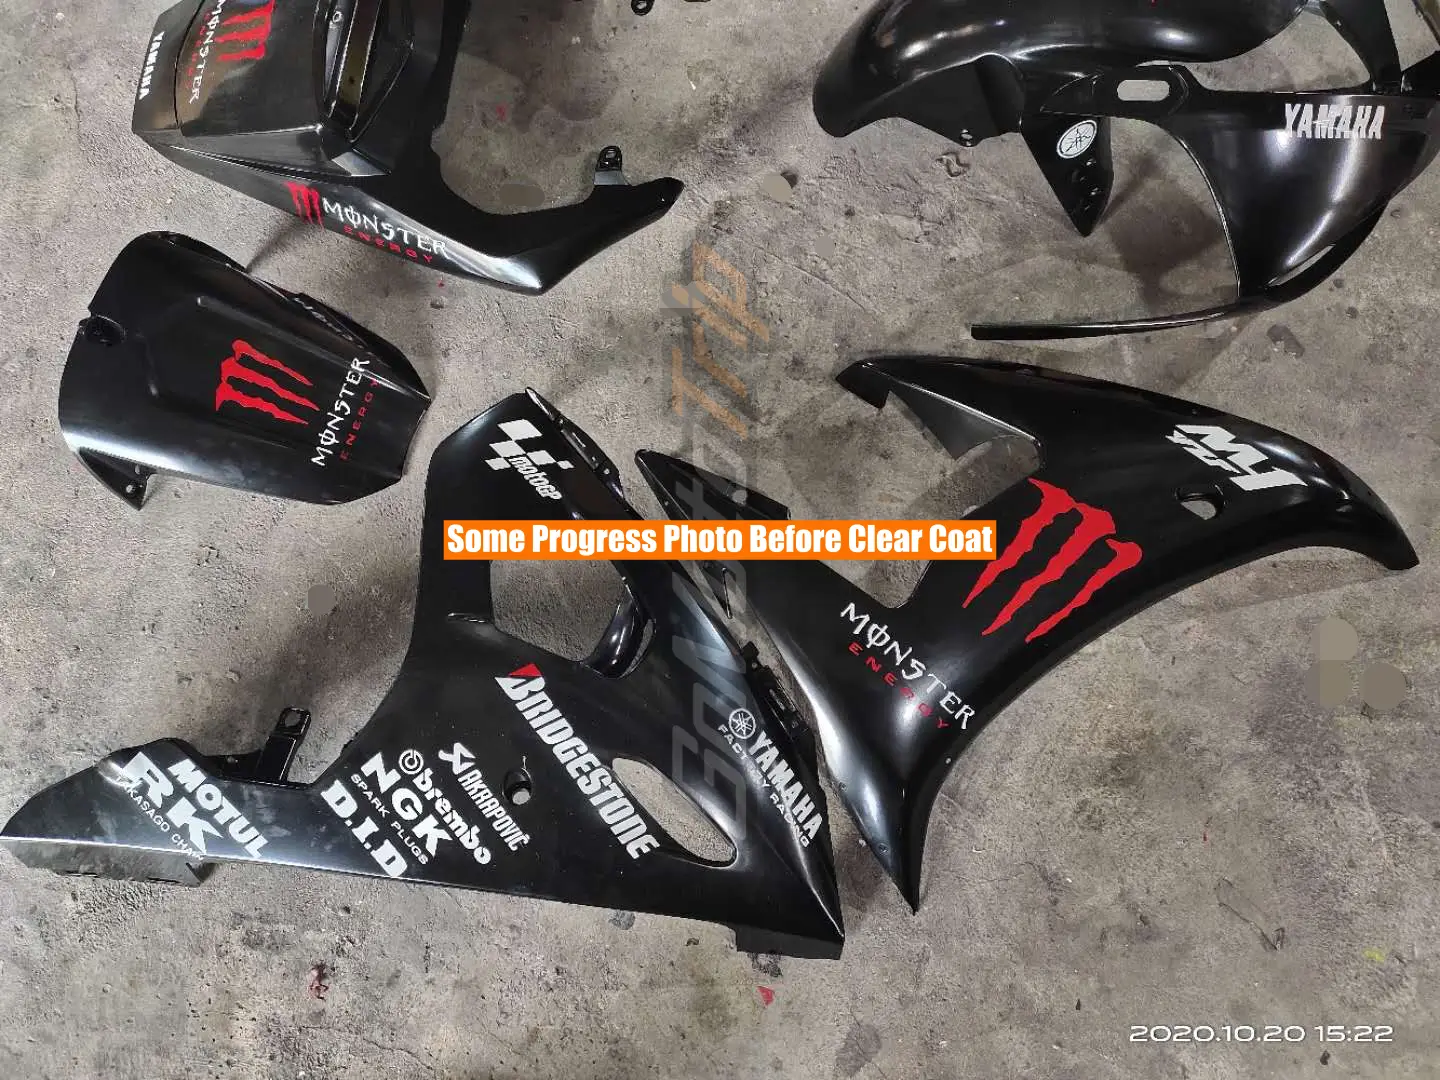
- Paper brief: sketch on a printed motorcycle photo and send a clear, straight-on image.
- Reference brief: identify which parts of each reference should be copied and which should only guide the color direction.
Include the exact motorcycle model and year range with every design brief.
What Happens After You Send Your Design?
The custom paint workflow is:
- Fitment confirmation: confirm the motorcycle make, model, and year range before design work starts.
- Reference review: send clear side, front, and rear references, plus notes for colors, finish, logos, and placement.
- Preview and revision: review the proposed layout and request changes before production.
- Production: after the design is confirmed, painting and production usually take about 15 working days.
- Dispatch and tracking: the order is packed after final inspection; transit time then varies by destination, shipping method, customs, and local delivery.
Complex designs or revision rounds can change the schedule. Use the confirmed order timeline rather than treating any article estimate as a delivery guarantee.
Design Tips for Custom Fairings
Keep the design readable across separate panels. Large shapes and clear color boundaries usually transfer more predictably than tiny details placed over vents, edges, or fastener areas.
- Provide color references rather than relying only on names such as “dark red” or “silver.”
- Mark which elements are essential and which can be adjusted to fit the panel geometry.
- Show logo placement and orientation clearly, especially across left and right sides.
- Confirm the requested finish during design review instead of assuming every effect is available.
The approved preview should be the shared reference for production.
Frequently Asked Questions
What software can I use to design motorcycle fairings?
You do not need a specific design application. A marked-up motorcycle photo, paper sketch, slide, or image-editing file can all work if the instructions are clear.
Use the correct model generation, provide more than one viewing angle, label colors and finish, and attach the clearest available artwork for small text or logos. The goal is an unambiguous brief, not presentation-quality design work.
How much does custom painted fairing cost?
Custom paint is included with eligible GoMotoTrip street fairing kits. The kit price varies by motorcycle model, year range, selected options, and any exceptional design requirements, so verify the current product page or written quote before ordering.
Standard shipping is free to most destinations. Remote-area or exceptional delivery routes may require a partial shipping charge, which should be confirmed before payment.
How long does it take?
After the design is confirmed, painting and production usually take about 15 working days. Delivery time starts after dispatch and varies by destination, shipping method, customs clearance, and local carrier conditions. The order confirmation is the controlling schedule.
What if I Don’t Like the Mockup?
Review and request changes before production begins. Check the motorcycle generation, color direction, spelling, logo orientation, left-to-right balance, and how graphics cross panel seams.
Revision scope and timing depend on the design and current order status. Do not rely on an unlimited-revision promise; use the written order conversation and final approved preview as the record of what will be produced.
Can You Copy a Design From Another Motorcycle?
A design from another motorcycle can be evaluated and adapted, but different panel shapes prevent an exact one-to-one copy. Send the target model and year with several reference views, then identify the colors and graphic elements that matter most.
The final layout is subject to feasibility review and preview approval. Structural changes to panels, mounting points, or vents are not part of a paint-design adaptation unless specifically confirmed in writing.
Ready to Design Your Custom Fairings?
A useful custom-fairing brief does not need professional artwork. Send the exact motorcycle model and year, clear reference images, color notes, finish preference, and the elements that must not change. GoMotoTrip can then prepare a preview for confirmation before production.
Eligible street kits use virgin ABS and OEM-grade molds, with mounting points prepared for the specified fitment. A clear or black windscreen and model-specific heat shield are included where applicable; bolt kits, tank covers, and seat covers are optional unless the product listing states otherwise.
Start with the current motorcycle fairing catalog and confirm the exact model and year range.
If you are refinishing sound existing panels instead of ordering a new kit, use our motorcycle fairing painting guide.