For whatever reason you must learn how to paint motorcycle fairings.
Resuming your motorcycle’s appearance with a fresh coat of paint on the fairings is both an exciting and intricate task. It’s going to be an art that requires patience, precision, and the right approach.
In this comprehensive guide, we’ll walk you through the entire process, ensuring you achieve that flawless finish even if you’re a beginner. Following the right steps would make you like a pro. Let’s go ahead.
Overview
Preparatory Phase
Preparation is the foundation of a great paint job.
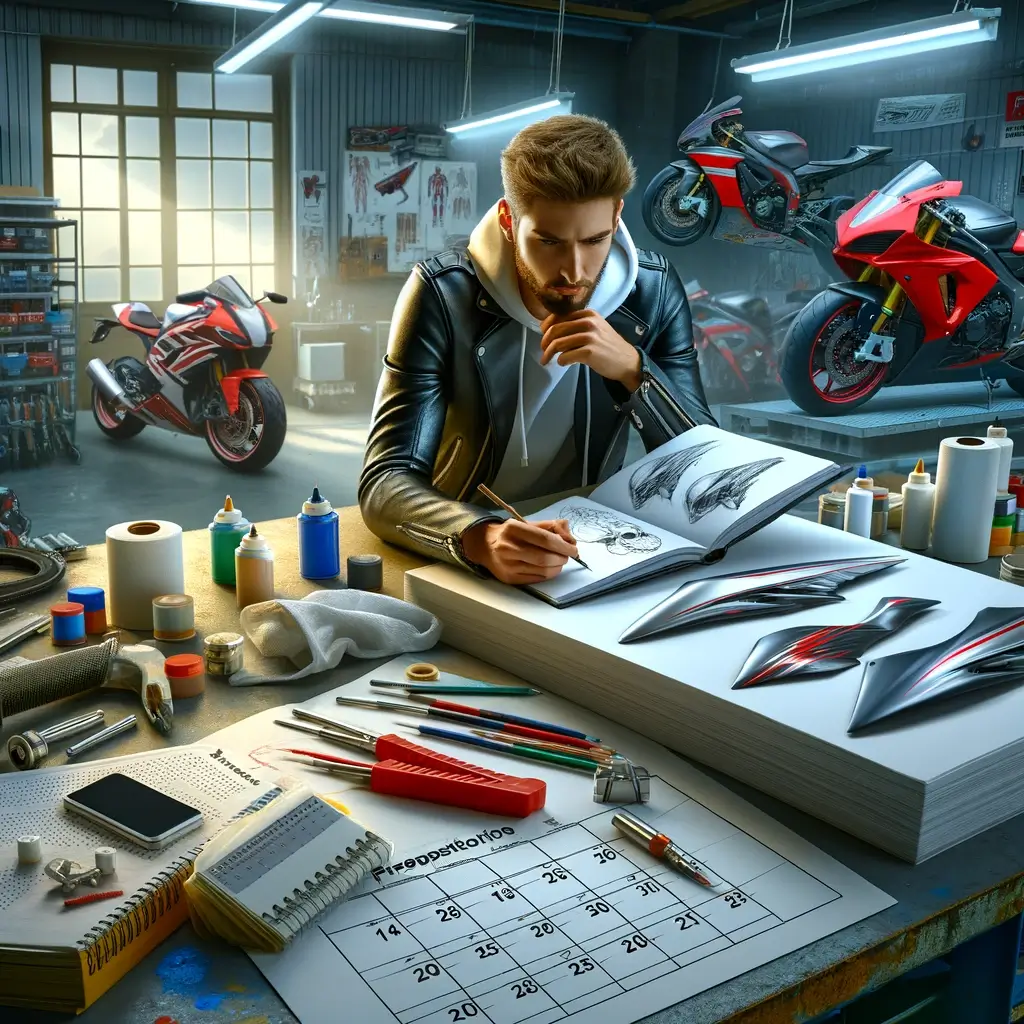
Make an initial plan including but not limited to the following:
- How much time you can spend on this project?
- How much time your bike is allowed naked?
- How to remove the fairing panels from your motorcycle.
- Decide the ideal fairing design draft.
- Estimated budget for the whole paint job.
- Where to create a paint booth.
Essential Supplies
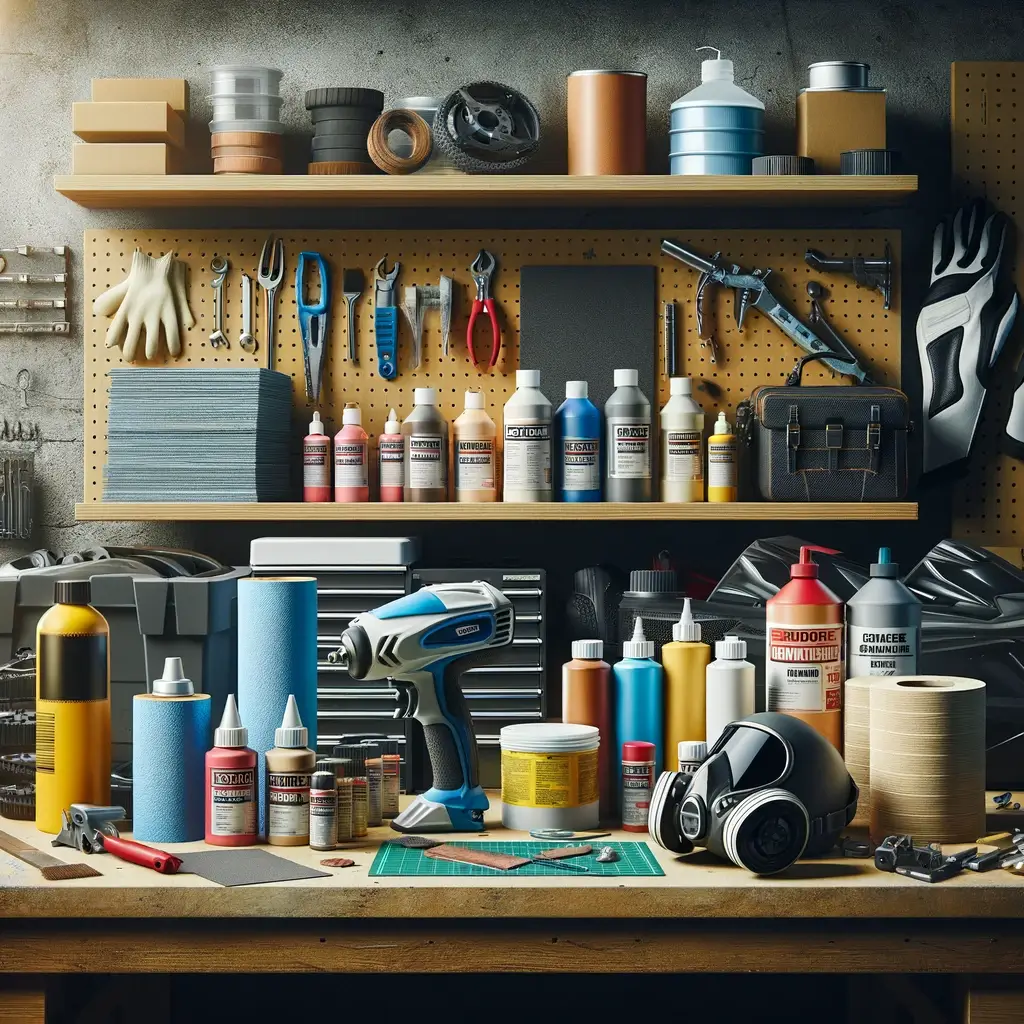
You’ll need specific supplies. Selecting quality materials is vital for an enduring finish.
Including but not limited to the following:
- Motorcycle fairings (removed from your bike)
- Sandpaper (various grits)
- Orbital sander (optional for efficient prep work)
- Primer (choose high-quality & suitable one for ABS fairing material)
- Paints (colors of your choice)
- Clear coat (2k for a lasting finish)
- Protective gear (gloves, mask)
- Spray gun (choose a reliable one for even coating)
Design Sketch
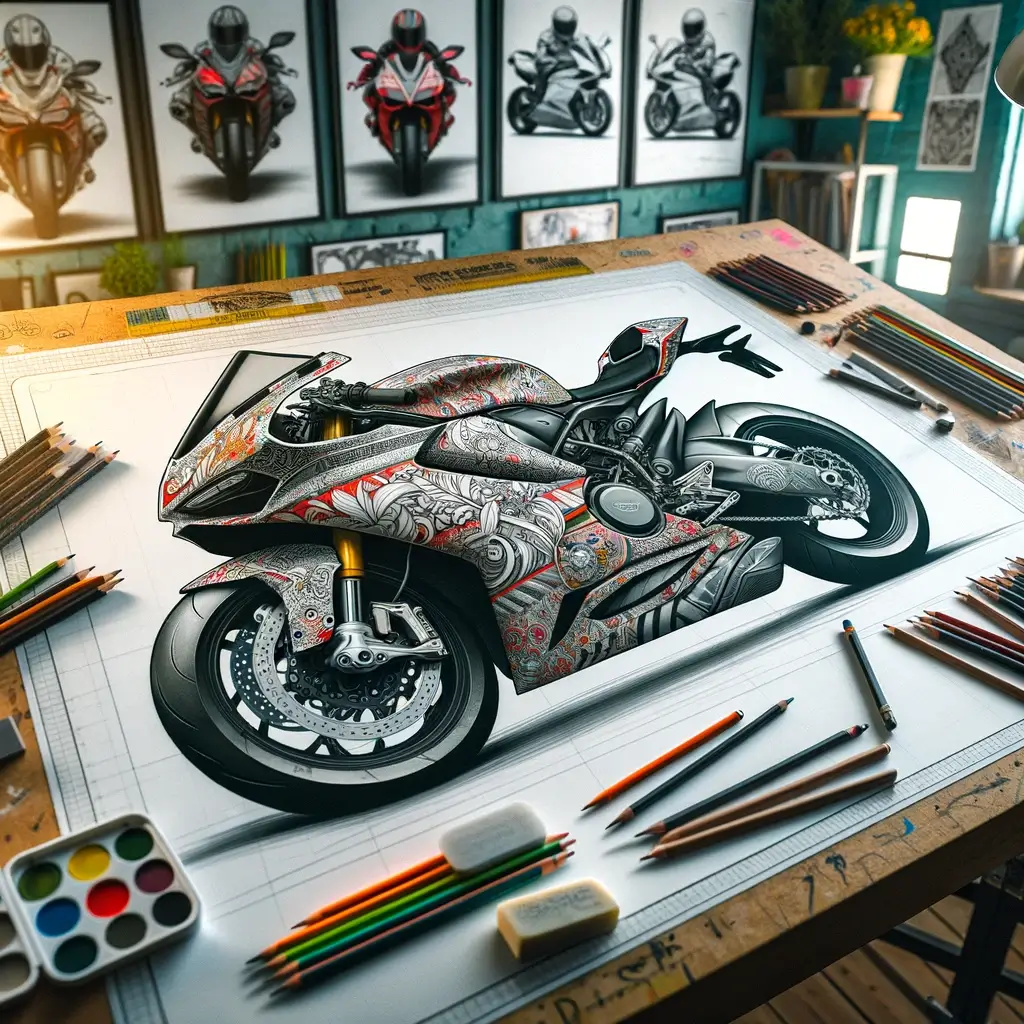
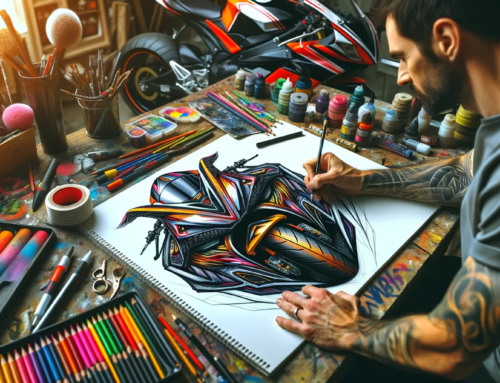
If you have no clue how to do such a sketch for the motorcycle fairing. Have a look at this example from one of our customers: Ducati 1199 Panigale Superbike-Coach Fairing Kit and read this post as it might help as well: How to Create Custom Painted Fairing
Create a Paint Booth
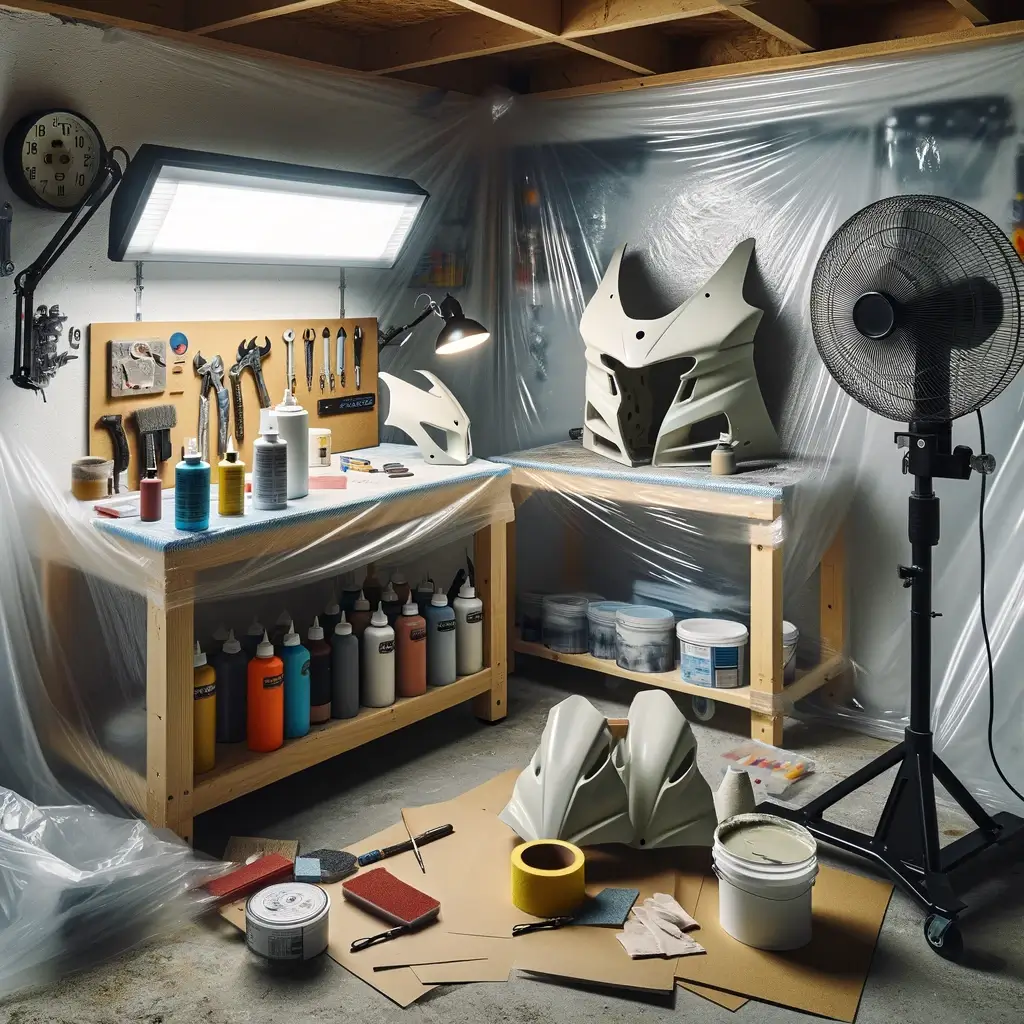
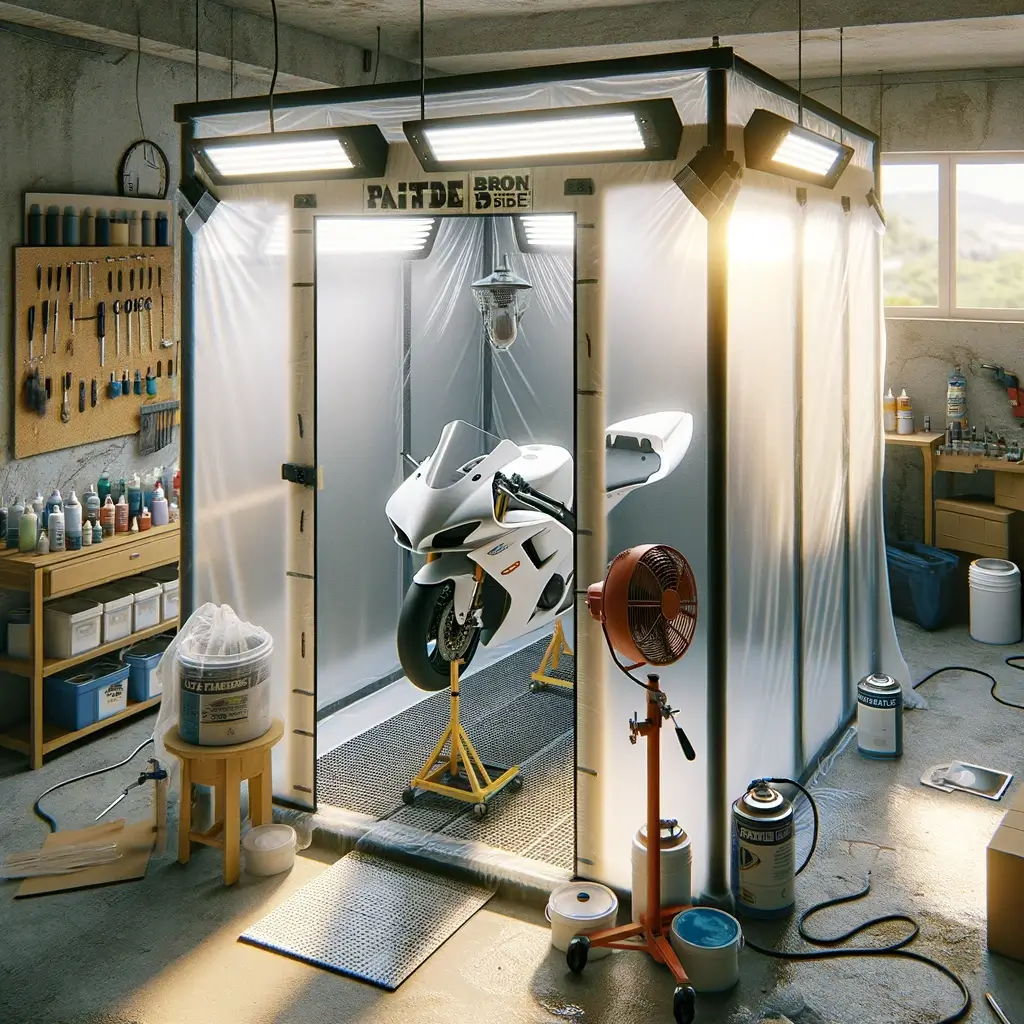
Creating a paint area where you can make a mess. The best-suggested area is either a garage or storage area. A large spacious area with even flooring is better.
Once you have found the ideal area, here are the tips:
- Cover the walls with plastic or other material sheets.
- Secure the sheets with nails using a hammer and sheets with tape from piling over each other.
- Place a pedestal fan in the area to blow away the fumes and odor so you inhale them in the least in case the room you choose is an enclosed space with small windows.
- Set up additional lighting as good lighting is essential when it comes to working on something that requires concentration that might strain the eyes too much. Enhance a comfortable painting experience.
Step 1 – Remove the Fairings
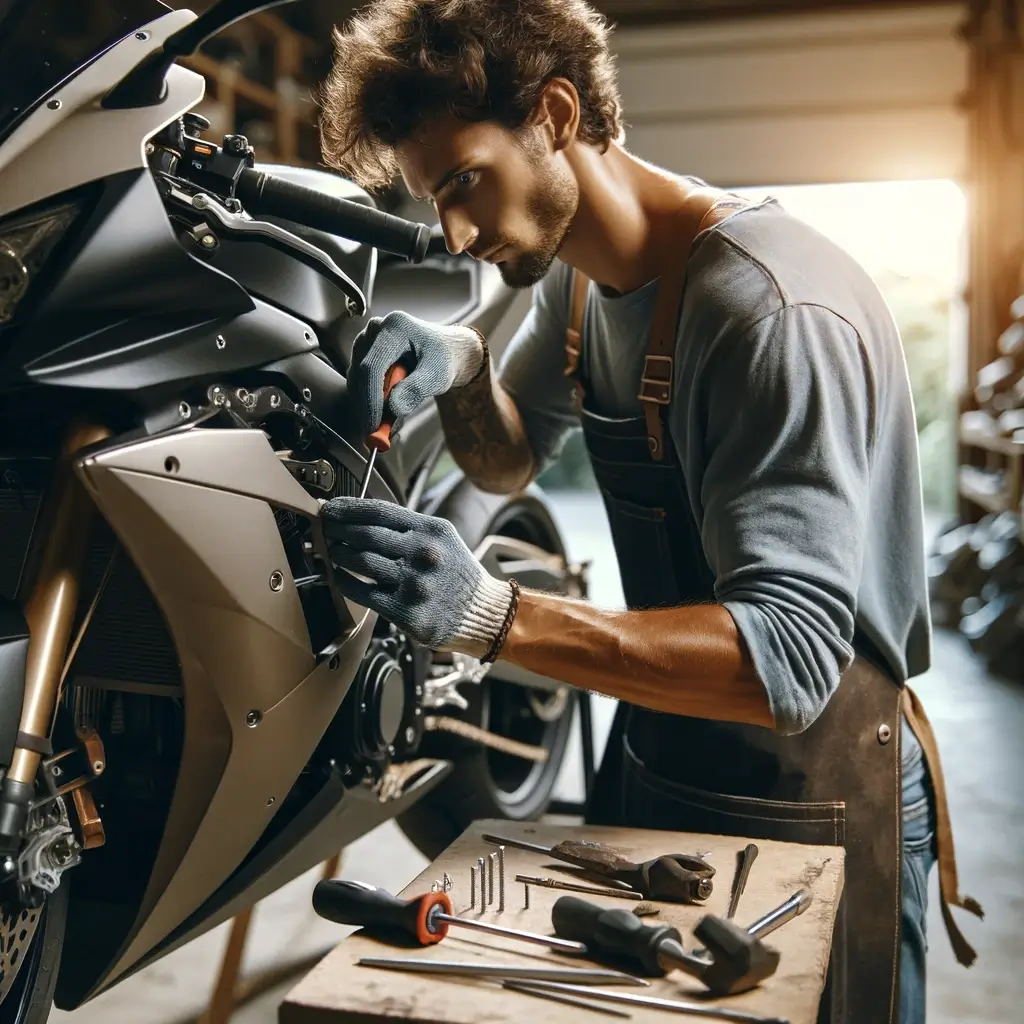
Bring in the motorcycle and place it at a convenient angle on the platform.
- Use the application tool to remove the fairings safely without damaging them.
- Move the bike outside of the painting area after removing all the fairing needed painting, this is to protect other parts of the bike from unnecessary paint stains.
- Store the bolts in a plastic baggie marked where they are taken.
- Plug the fairing holes in case they don’t get accidentally filled with paint…
Step 2 – Clean the Fairings
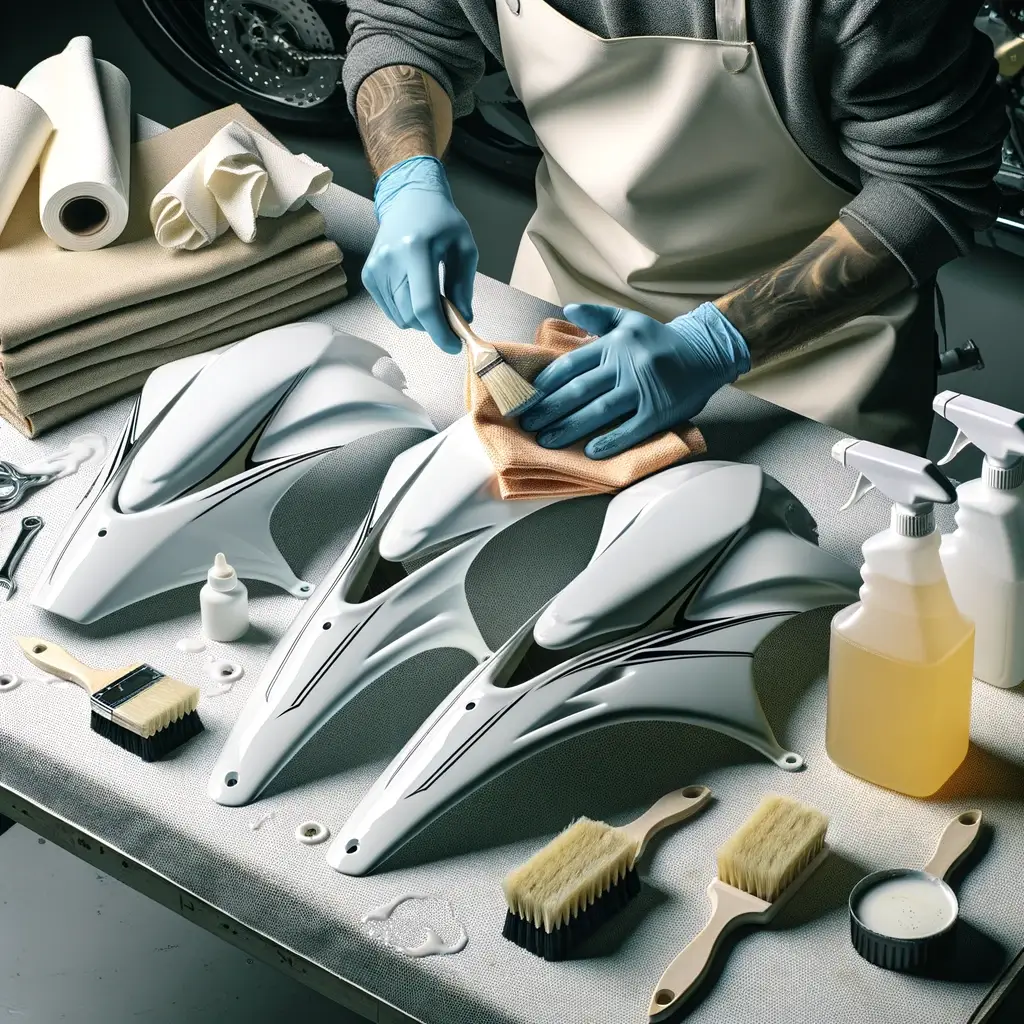
The success of your paint job begins with a thorough cleaning of the fairings. Use a mild detergent to remove all traces of dirt, oil, and residue. This step is crucial as it ensures the paint adheres properly to the fairing surface.
Optional – Repair the Fairings
Inspect these cleaned fairing parts for any cracks or damages. Use a quality plastic filler to repair them in advance:
- Plastic welds any cracks and ensures the surface is flush.
- Apply a plastic bonder specifically designed for fairings.
- Once cured, sand the area smooth, readying it for primer.
- Ensure that repaired areas are sanded down smoothly to avoid unevenness in the final paint job.
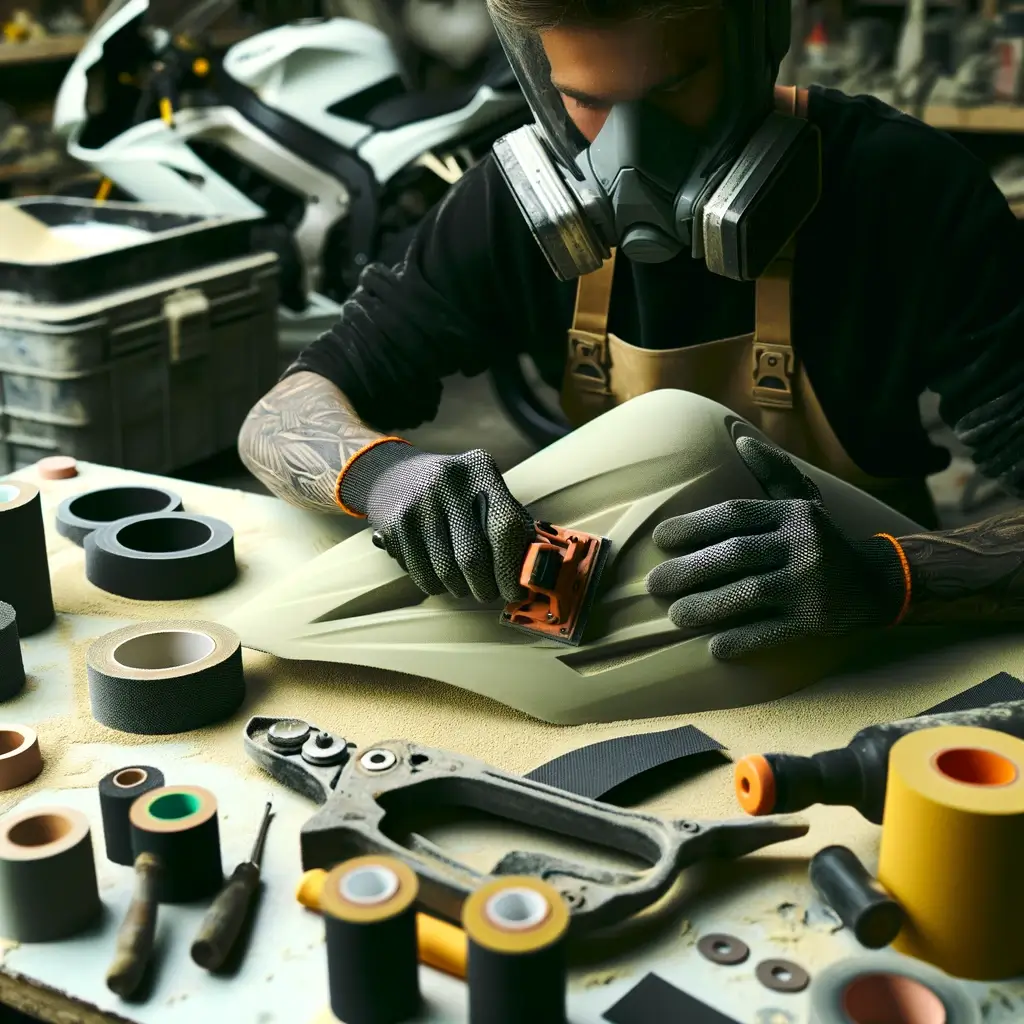
Step 3 – Sand Down the Fairing Surface
This part takes some time and energy, take breaks if needed, you don’t have to do them all in one go.
It is important to make the fairing surface as consistent and smooth as possible so that primer and paint can best adhere.
Depending on the existing paint and intended outcome:
- Start with a 320 or 600-grit sandpaper.
- Sand in circular motions applying moderate pressure on the surface until you have removed the old paint.
- Optional to use a dual-action sander for efficient and even sanding.
- Dust off residual sand particles after completing this step.
Optional – Smooth the Fairing Layer
Use body fillers to smooth out any noticeable bumps and rough texture. Once the filler is dry, repeat the “sanding” process.
Reminder: If the surface you are painting is not completely smooth, you will end up with an unsightly and uneven layer of paint on your bike, which no one wants.
Your satisfaction matters, if not, do the same procedure again – but remember to remove the body filler each time.
Step 4 – Primer the Fairings
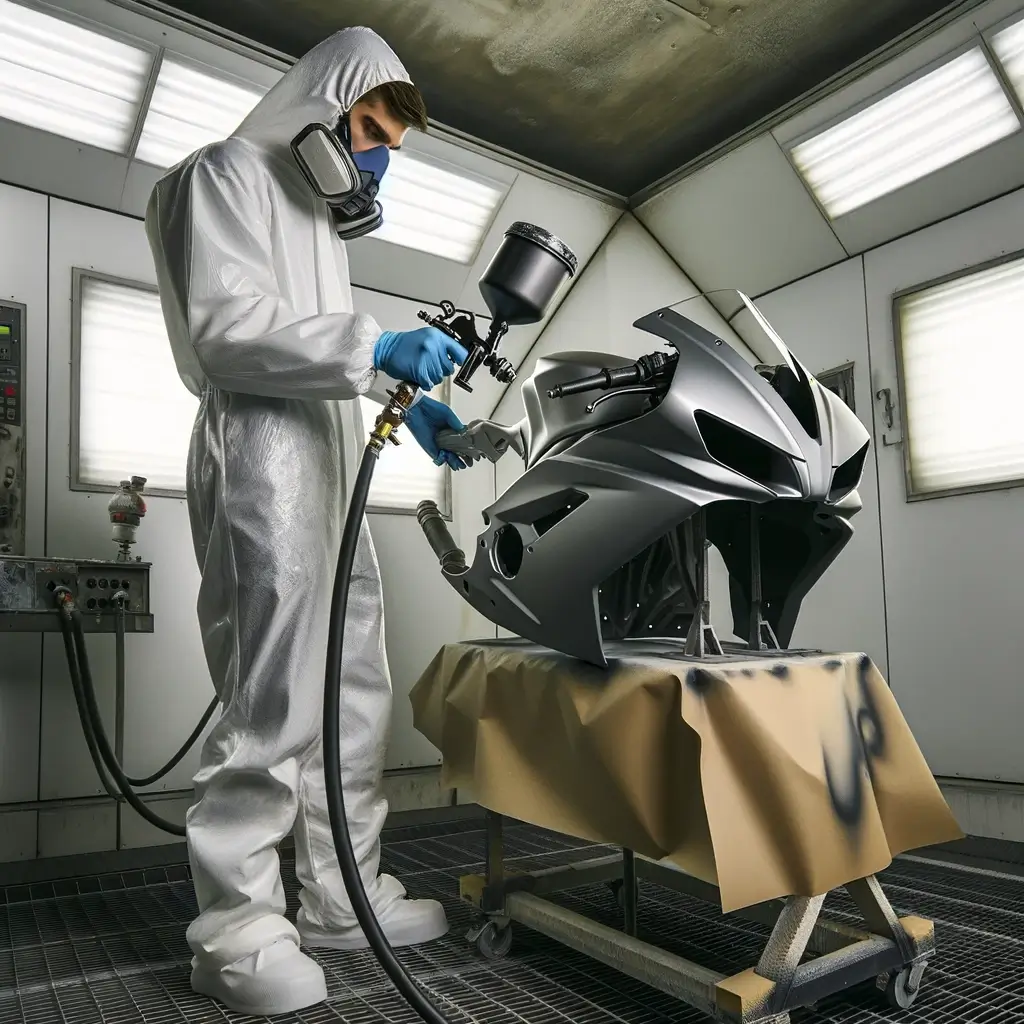
This step is pivotal for a durable finish. Without primer, the paint will not stick properly to the fairings. If possible, apply a high-quality primer ensuring a smooth base for the paint.
Warning: Always wear an air-purifying mask while painting. Always allow plenty of ventilation within your painting workspace.
Please read the instructions mentioned on the epoxy primer packaging, and prepare to apply two even coats of epoxy primer on the fairings.
- Mix the primer with the correct proportion of the hardener and pour them into a spray gun.
- Start spraying one coat evenly onto the fairing (Spray movement of the hand should be sufficient for even application), allow it to dry, then repeat the second coat.
- Let the second primer dry, use 2000-grit sandpaper to sand it down again with the wet-and-dry method, and make sure to even out any bumpy surface.
Wet sanding is a technique that creates a perfectly smooth and shiny texture. Wet sand using 2000-grit sandpaper. After you have finished wet sanding the entire fairing, ensure that all excess water and plastic particles are removed.
- Wipe the surface lightly using a thinner, do not rub it hard enough, just enough to wipe down the newly sanded surface.
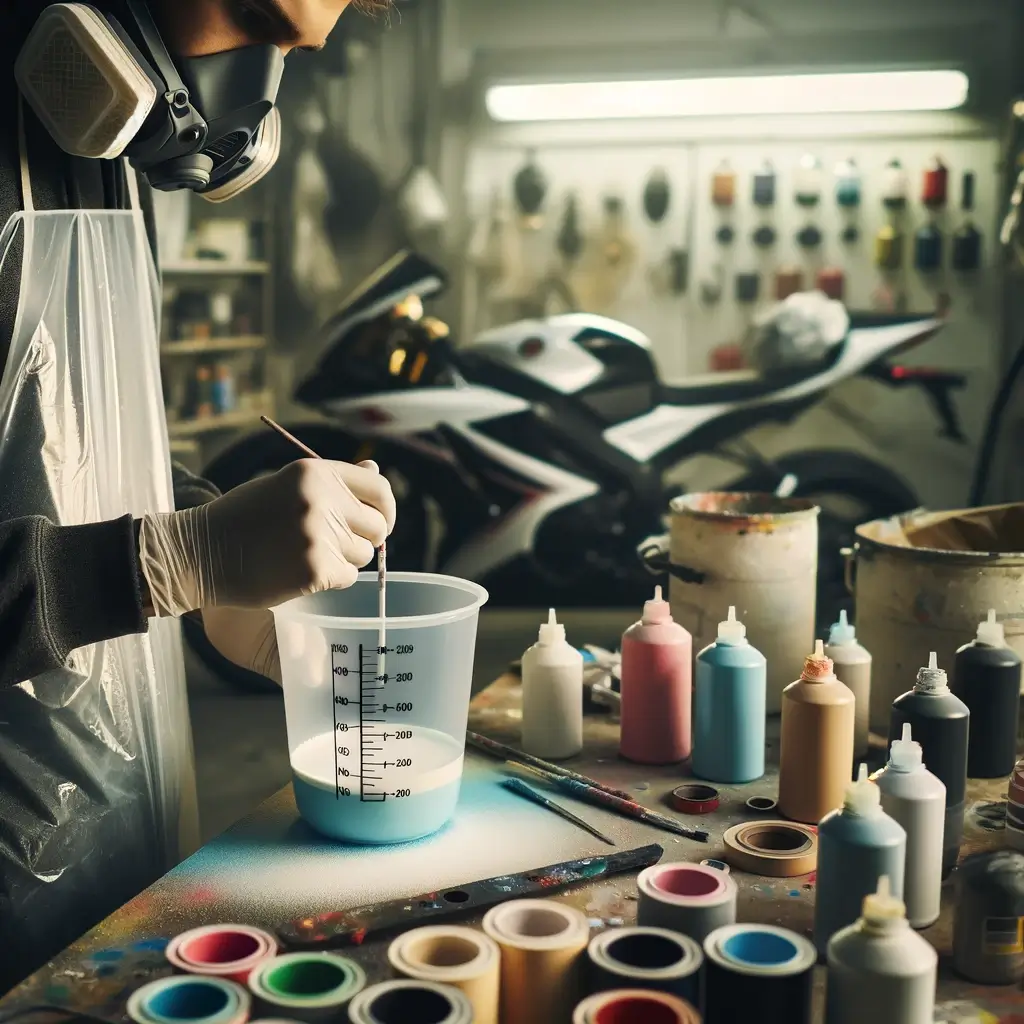
Step 5 – Mixing the Paint
Mixing paint is a precise process. Follow the manufacturer’s instructions to get the right consistency to achieve the desired color and consistency. Typically, a 1:1 ratio of paint and reducer works well. Use a mixing cup with marked measurements for accuracy.
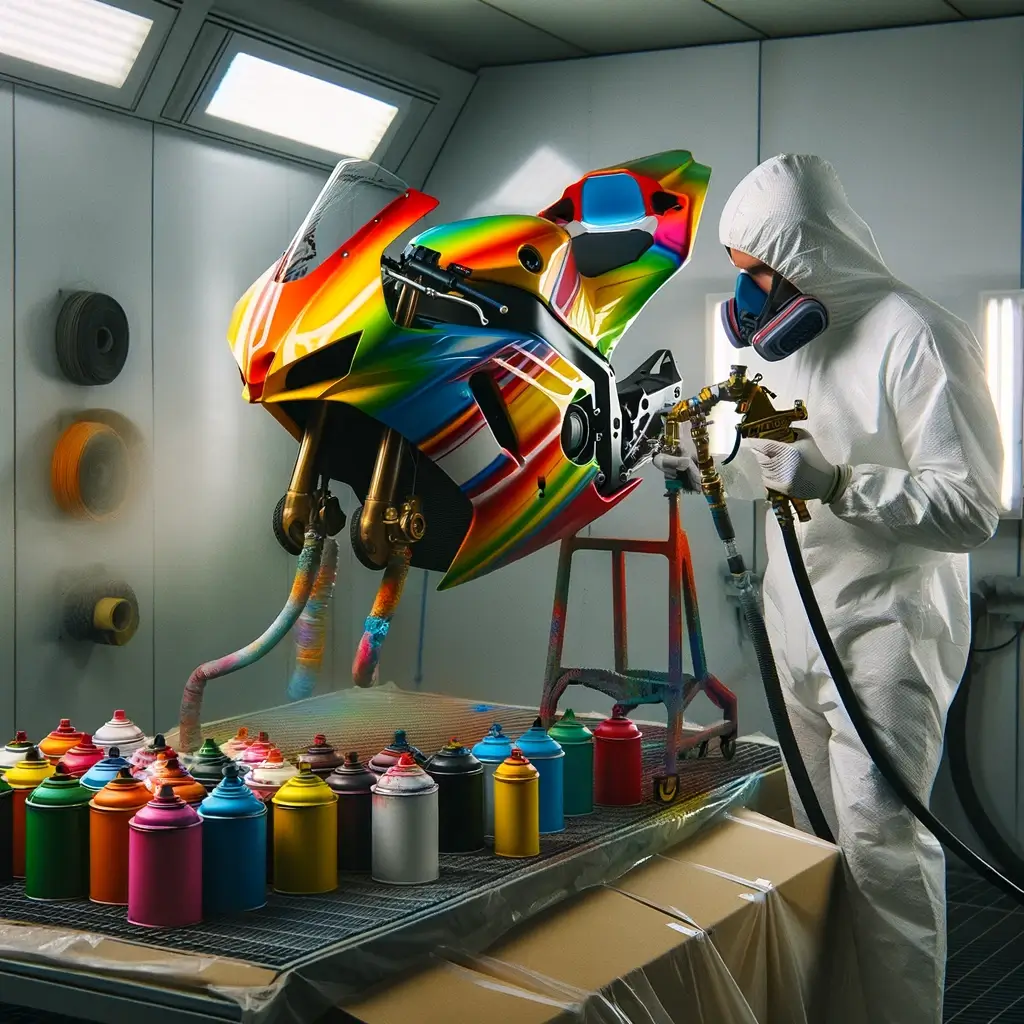
Step 6 – Paint the Fairings
Start with a base coat, focusing on even application, applying a two-pack undercoat. This layer forms a strong foundation for the subsequent paint layers. Then spray the paint in multiple thin layers, allowing each to dry before the next application.
Reminder: if you don’t have the second spare spray gun, clean the only one you’ve used. As you don’t want any of the epoxy primer mixing in with the paint you want to apply.
Here are the detailed steps:
- Mix the paint with thinner in the proportion as mentioned on the packaging into the spray gun.
- Spray paint over the motorcycle fairings quickly 3 to 5 coats, leaving a drying interval after each coat of paint like three hours per coat.
- Sand down the fairings again after drying of last coat, wipe the surface of the fairings to remove residual paint particles before application of final paint.
- Apply another coat letting it dry after which apply the last coat of paint, wait for 6 to 8 hours for the paint to fully dry.
- Eventually you may want to add any decals or custom designs.
Step 7 – Clear Coat the Fairings
After the final paint layer, apply a clear coat for protection and gloss. A 2K clear coat is recommended for a durable and glossy finish. Apply it evenly to protect the paint and add shine. Apply 2 to 3 layers of clear lacquer and allow two hours of time between each coat.
Attention to Detail: Throughout the process, pay attention to details like ensuring no paint lines from the tape and smooth transitions between layers.
After the final clear coat layer dries, clean and inspect your work. The result should be a beautifully restored, professionally painted fairing.
Benefits of Painting Motorcycle Fairings Yourself
- Personal Customization: Tailor your bike’s appearance with unique colors and designs to reflect your personal style.
- Cost-Effective: Save money compared to professional paint jobs; you only need to buy materials.
- Fun and Satisfying Project: Enjoy the process of prepping, painting, and finishing the fairings, learning new skills along the way.
- Sense of Accomplishment: Experience pride and fulfillment in completing a DIY motorcycle project.
- Maintenance and Care: Regular painting and touch-ups help protect fairings, extending your bike’s lifespan and maintaining its look.
Conclusion
Patience and attention to detail are key in painting motorcycle fairings. Take your time at each stage, and don’t rush the process. By following these steps, you can achieve a professional-looking paint job.
Go ahead, grab the brush, and do it, because there’s no one out there that knows you better than you. Do not overwork yourself in doing so, work at your own pace and complete the task with ease whether in a day or a week.
Moreover, you can watch this video for a better understanding of painting motorcycle fairing:
ALSO ON GOMOTOTRIP
For whatever reason you must learn how to paint motorcycle fairings.
Resuming your motorcycle’s appearance with a fresh coat of paint on the fairings is both an exciting and intricate task. It’s going to be an art that requires patience, precision, and the right approach.
In this comprehensive guide, we’ll walk you through the entire process, ensuring you achieve that flawless finish even if you’re a beginner. Following the right steps would make you like a pro. Let’s go ahead.
Overview
Preparatory Phase
Preparation is the foundation of a great paint job.
Make an initial plan including but not limited to the following:
- How much time you can spend on this project?
- How much time your bike is allowed naked?
- How to remove the fairing panels from your motorcycle.
- Decide the ideal fairing design draft.
- Estimated budget for the whole paint job.
- Where to create a paint booth.
Essential Supplies
You’ll need specific supplies. Selecting quality materials is vital for an enduring finish.
Including but not limited to the following:
- Motorcycle fairings (removed from your bike)
- Sandpaper (various grits)
- Orbital sander (optional for efficient prep work)
- Primer (choose high-quality & suitable one for ABS fairing material)
- Paints (colors of your choice)
- Clear coat (2k for a lasting finish)
- Protective gear (gloves, mask)
- Spray gun (choose a reliable one for even coating)
Design Sketch
If you have no clue how to do such a sketch for the motorcycle fairing. Have a look at this example from one of our customers: Ducati 1199 Panigale Superbike-Coach Fairing Kit and read this post as it might help as well: How to Create Custom Painted Fairing
Create a Paint Booth
Creating a paint area where you can make a mess. The best-suggested area is either a garage or storage area. A large spacious area with even flooring is better.
Once you have found the ideal area, here are the tips:
- Cover the walls with plastic or other material sheets.
- Secure the sheets with nails using a hammer and sheets with tape from piling over each other.
- Place a pedestal fan in the area to blow away the fumes and odor so you inhale them in the least in case the room you choose is an enclosed space with small windows.
- Set up additional lighting as good lighting is essential when it comes to working on something that requires concentration that might strain the eyes too much. Enhance a comfortable painting experience.
Step 1 – Remove the Fairings
Bring in the motorcycle and place it at a convenient angle on the platform.
- Use the application tool to remove the fairings safely without damaging them.
- Move the bike outside of the painting area after removing all the fairing needed painting, this is to protect other parts of the bike from unnecessary paint stains.
- Store the bolts in a plastic baggie marked where they are taken.
- Plug the fairing holes in case they don’t get accidentally filled with paint…
Step 2 – Clean the Fairings
The success of your paint job begins with a thorough cleaning of the fairings. Use a mild detergent to remove all traces of dirt, oil, and residue. This step is crucial as it ensures the paint adheres properly to the fairing surface.
Optional – Repair the Fairings
Inspect these cleaned fairing parts for any cracks or damages. Use a quality plastic filler to repair them in advance:
- Plastic welds any cracks and ensures the surface is flush.
- Apply a plastic bonder specifically designed for fairings.
- Once cured, sand the area smooth, readying it for primer.
- Ensure that repaired areas are sanded down smoothly to avoid unevenness in the final paint job.
Step 3 – Sand Down the Fairing Surface
This part takes some time and energy, take breaks if needed, you don’t have to do them all in one go.
It is important to make the fairing surface as consistent and smooth as possible so that primer and paint can best adhere.
Depending on the existing paint and intended outcome:
- Start with a 320 or 600-grit sandpaper.
- Sand in circular motions applying moderate pressure on the surface until you have removed the old paint.
- Optional to use a dual-action sander for efficient and even sanding.
- Dust off residual sand particles after completing this step.
Optional – Smooth the Fairing Layer
Use body fillers to smooth out any noticeable bumps and rough texture. Once the filler is dry, repeat the “sanding” process.
Reminder: If the surface you are painting is not completely smooth, you will end up with an unsightly and uneven layer of paint on your bike, which no one wants.
Your satisfaction matters, if not, do the same procedure again – but remember to remove the body filler each time.
Step 4 – Primer the Fairings
This step is pivotal for a durable finish. Without primer, the paint will not stick properly to the fairings. If possible, apply a high-quality primer ensuring a smooth base for the paint.
Warning: Always wear an air-purifying mask while painting. Always allow plenty of ventilation within your painting workspace.
Please read the instructions mentioned on the epoxy primer packaging, and prepare to apply two even coats of epoxy primer on the fairings.
- Mix the primer with the correct proportion of the hardener and pour them into a spray gun.
- Start spraying one coat evenly onto the fairing (Spray movement of the hand should be sufficient for even application), allow it to dry, then repeat the second coat.
- Let the second primer dry, use 2000-grit sandpaper to sand it down again with the wet-and-dry method, and make sure to even out any bumpy surface.
Wet sanding is a technique that creates a perfectly smooth and shiny texture. Wet sand using 2000-grit sandpaper. After you have finished wet sanding the entire fairing, ensure that all excess water and plastic particles are removed.
- Wipe the surface lightly using a thinner, do not rub it hard enough, just enough to wipe down the newly sanded surface.
Step 5 – Mixing the Paint
Mixing paint is a precise process. Follow the manufacturer’s instructions to get the right consistency to achieve the desired color and consistency. Typically, a 1:1 ratio of paint and reducer works well. Use a mixing cup with marked measurements for accuracy.
Step 6 – Paint the Fairings
Start with a base coat, focusing on even application, applying a two-pack undercoat. This layer forms a strong foundation for the subsequent paint layers. Then spray the paint in multiple thin layers, allowing each to dry before the next application.
Reminder: if you don’t have the second spare spray gun, clean the only one you’ve used. As you don’t want any of the epoxy primer mixing in with the paint you want to apply.
Here are the detailed steps:
- Mix the paint with thinner in the proportion as mentioned on the packaging into the spray gun.
- Spray paint over the motorcycle fairings quickly 3 to 5 coats, leaving a drying interval after each coat of paint like three hours per coat.
- Sand down the fairings again after drying of last coat, wipe the surface of the fairings to remove residual paint particles before application of final paint.
- Apply another coat letting it dry after which apply the last coat of paint, wait for 6 to 8 hours for the paint to fully dry.
- Eventually you may want to add any decals or custom designs.
Step 7 – Clear Coat the Fairings
After the final paint layer, apply a clear coat for protection and gloss. A 2K clear coat is recommended for a durable and glossy finish. Apply it evenly to protect the paint and add shine. Apply 2 to 3 layers of clear lacquer and allow two hours of time between each coat.
Attention to Detail: Throughout the process, pay attention to details like ensuring no paint lines from the tape and smooth transitions between layers.
After the final clear coat layer dries, clean and inspect your work. The result should be a beautifully restored, professionally painted fairing.
Benefits of Painting Motorcycle Fairings Yourself
- Personal Customization: Tailor your bike’s appearance with unique colors and designs to reflect your personal style.
- Cost-Effective: Save money compared to professional paint jobs; you only need to buy materials.
- Fun and Satisfying Project: Enjoy the process of prepping, painting, and finishing the fairings, learning new skills along the way.
- Sense of Accomplishment: Experience pride and fulfillment in completing a DIY motorcycle project.
- Maintenance and Care: Regular painting and touch-ups help protect fairings, extending your bike’s lifespan and maintaining its look.
Conclusion
Patience and attention to detail are key in painting motorcycle fairings. Take your time at each stage, and don’t rush the process. By following these steps, you can achieve a professional-looking paint job.
Go ahead, grab the brush, and do it, because there’s no one out there that knows you better than you. Do not overwork yourself in doing so, work at your own pace and complete the task with ease whether in a day or a week.
Moreover, you can watch this video for a better understanding of painting motorcycle fairing:
